The master bath in this house was in good shape, but like the other bathroom it just needed updating. But before I get to the master bath area, I want to talk about the master closet that sits behind the vanity. The closet had tall-mirrored sliding doors on the vanity side
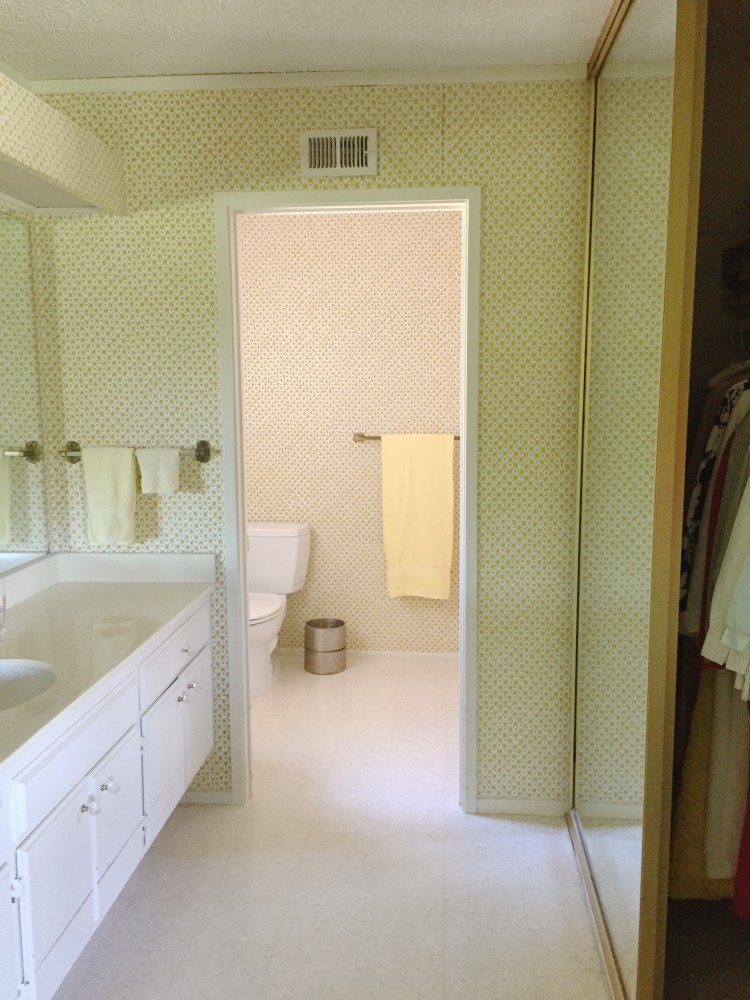
but you could also access the same closet when you walked into the master bedroom
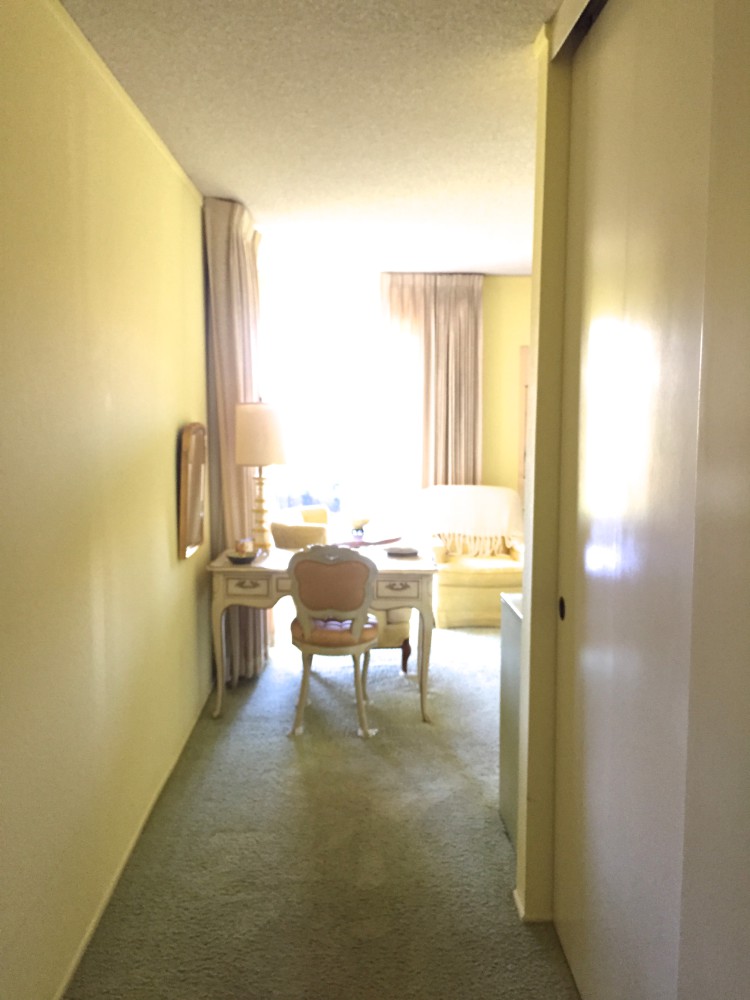
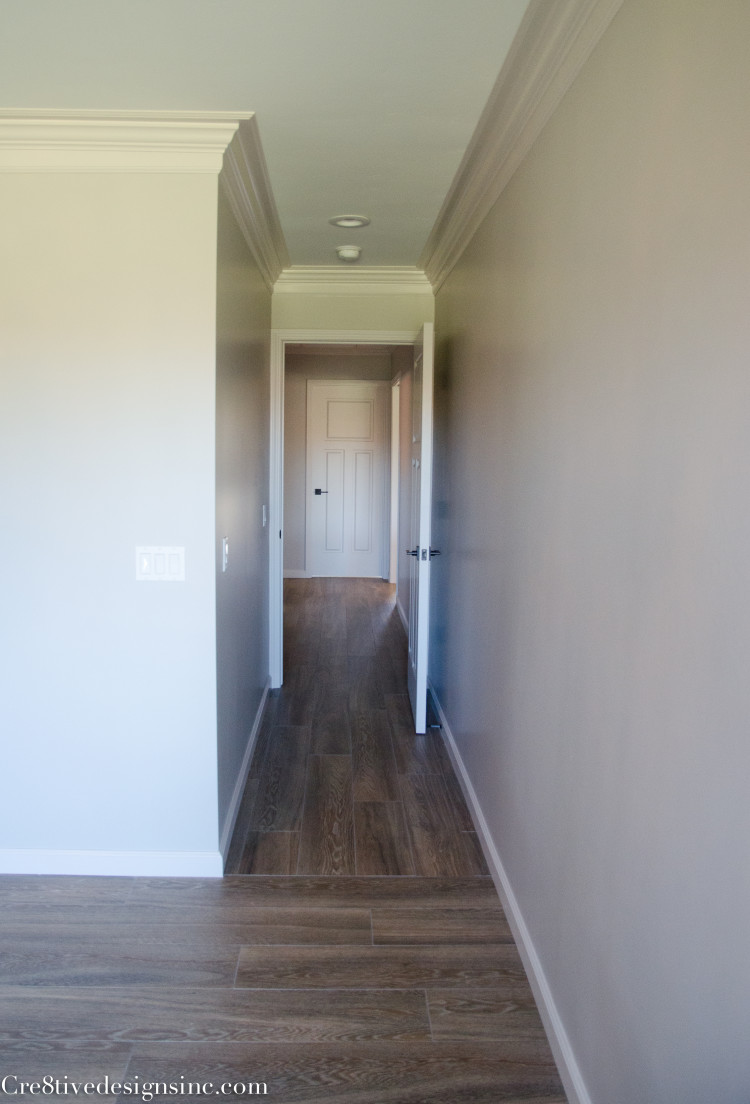
What a weird concept. To me, it was wasted space and just odd. So we enclosed the hallway entrance to the closet, {I of course don’t have a decent picture, or from the same angle, but you get the idea}
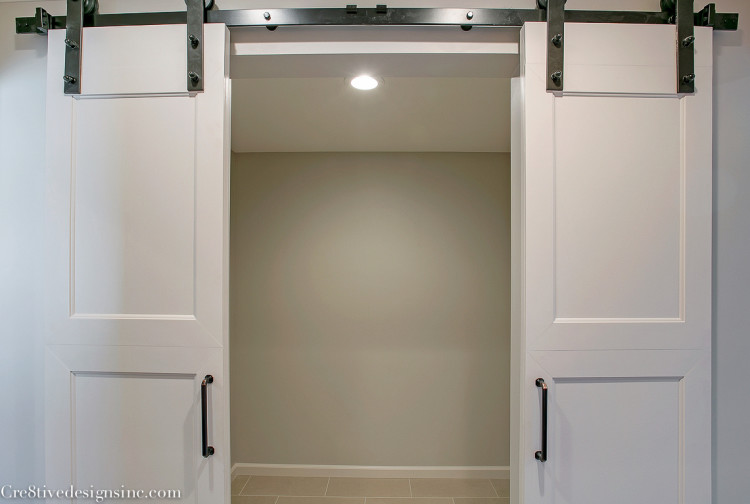
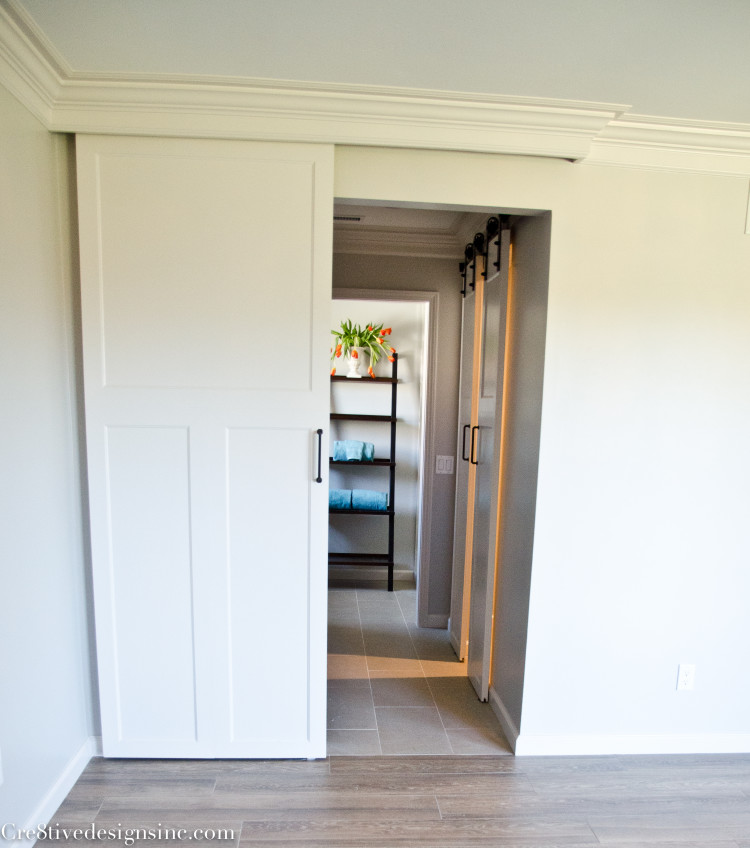
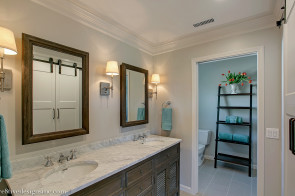
We took out the mirrored doors on the vanity side, to give more wall space inside the closet, and we also made the entrance on this side smaller. Rearranging the closet like this gave a lot more usable space, and also made it a walk in closet. Something I know buyers would love, versus the weird pass thru closet that was there. But it was also an excuse for me to finally be able to use a barn door for the new entrance 🙂
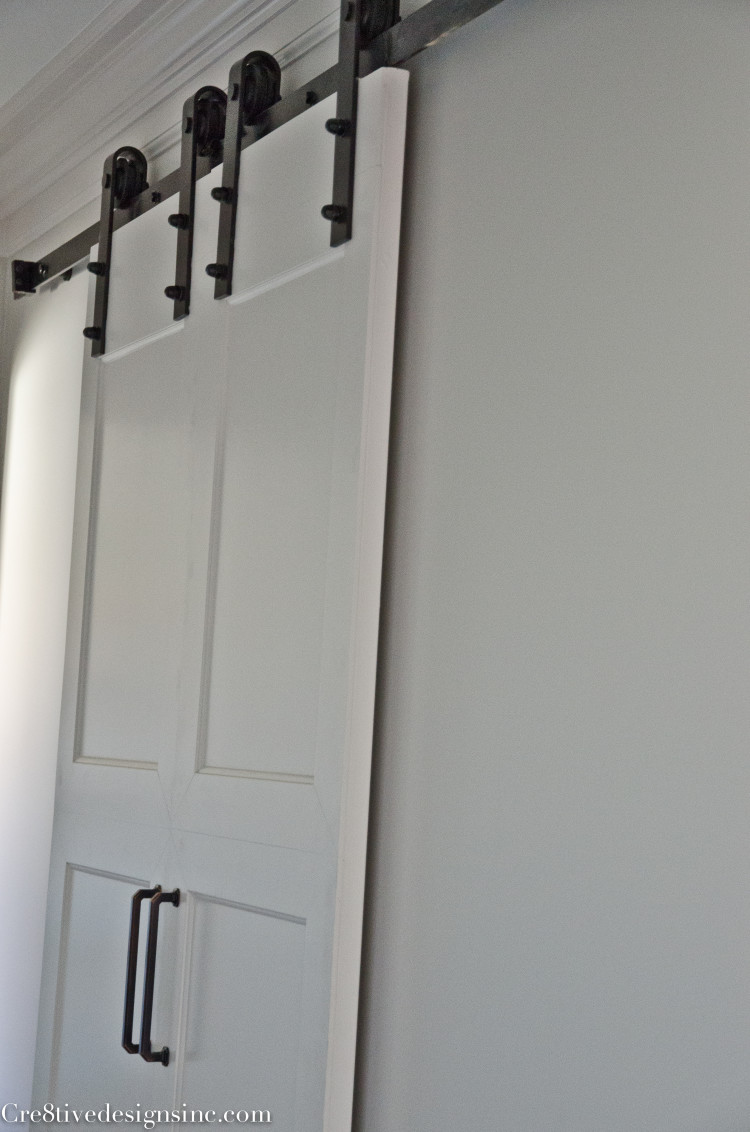
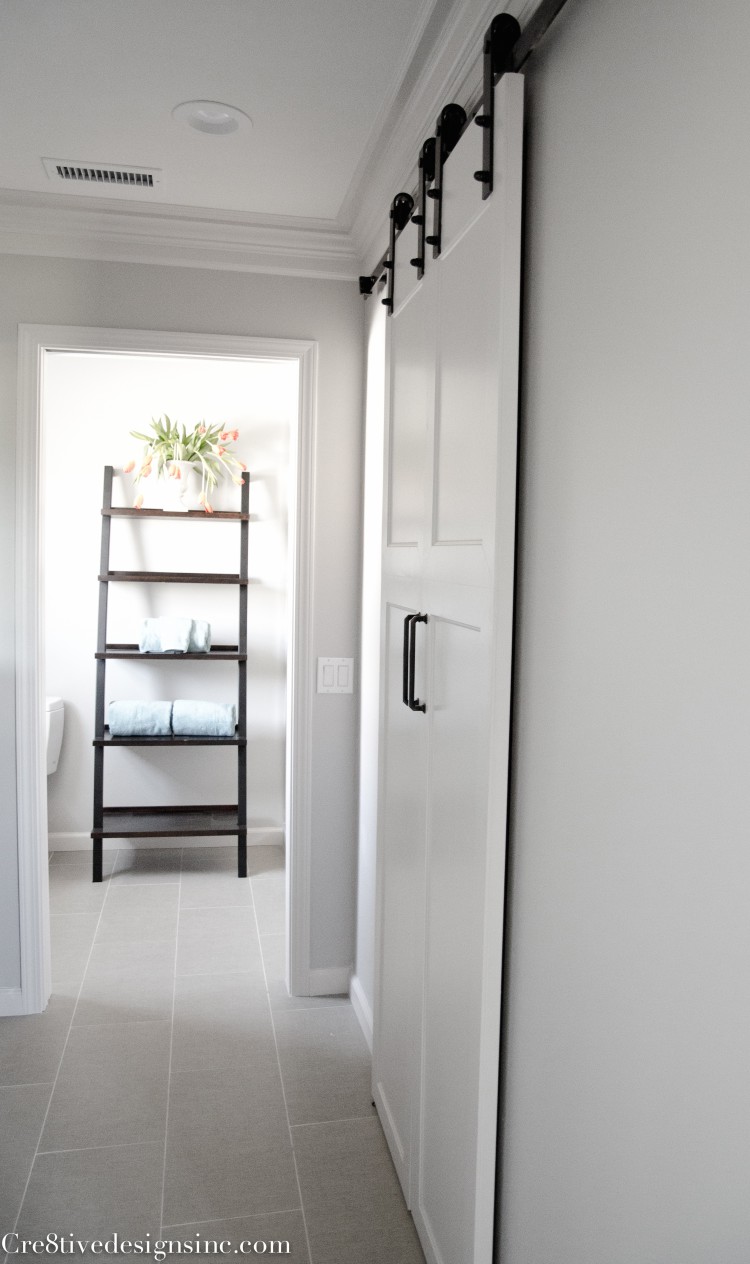
Oh how I love how these barn doors turned out. We actually re-purposed the closet doors from the hallway entrance for the barn doors. We added, get this, baseboard molding to mimic the rest of the doors. HA! Pretty genius right?
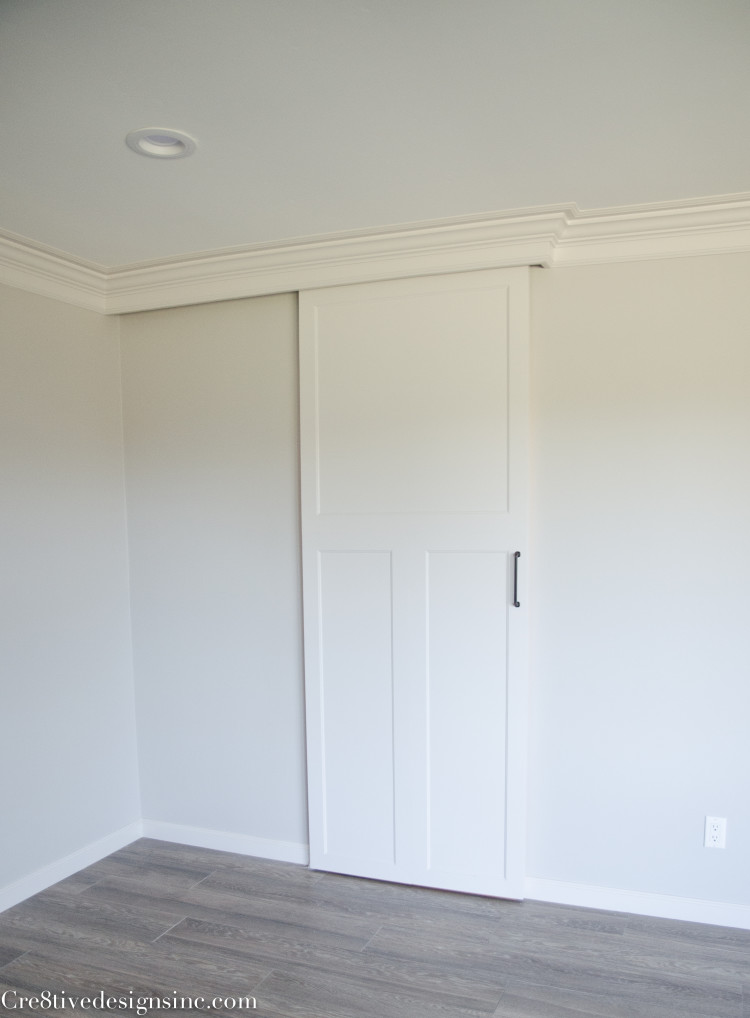
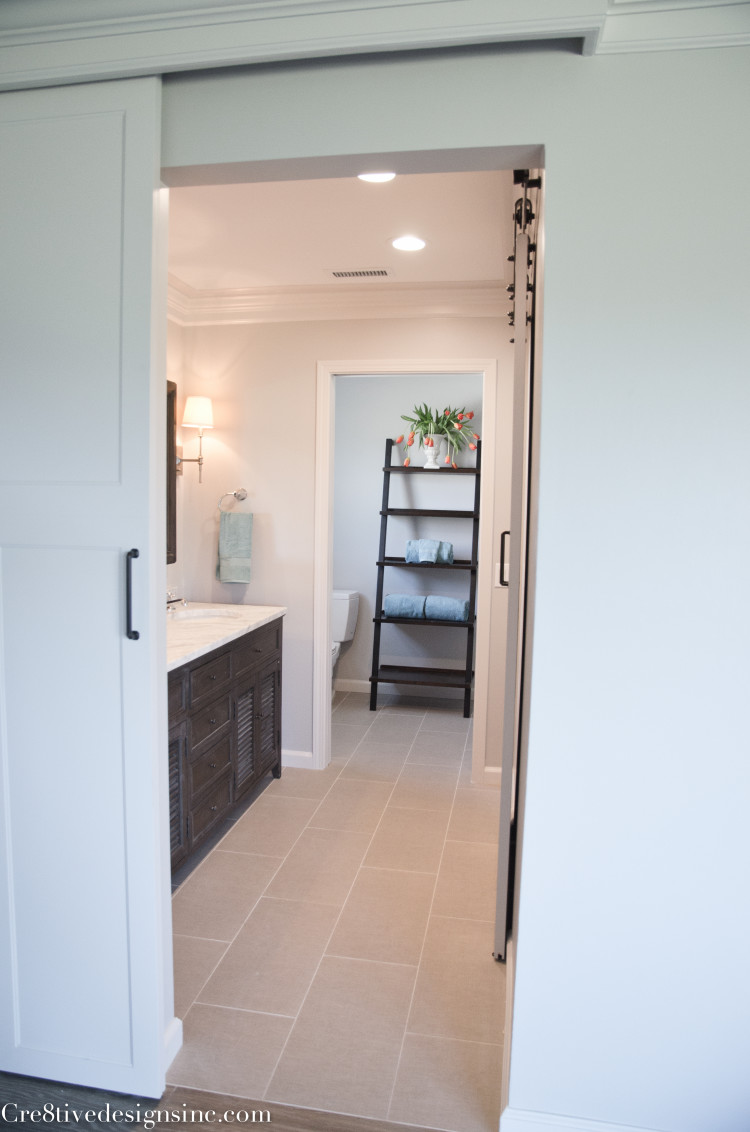
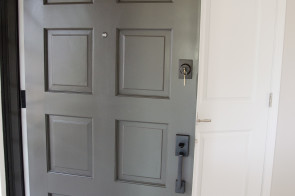
Another item we added to the master bath was a sliding door from the bedroom area. It was just an opening with no door. Again, to me that is odd. You need to be able to close off the bathroom area while another person may be sleeping
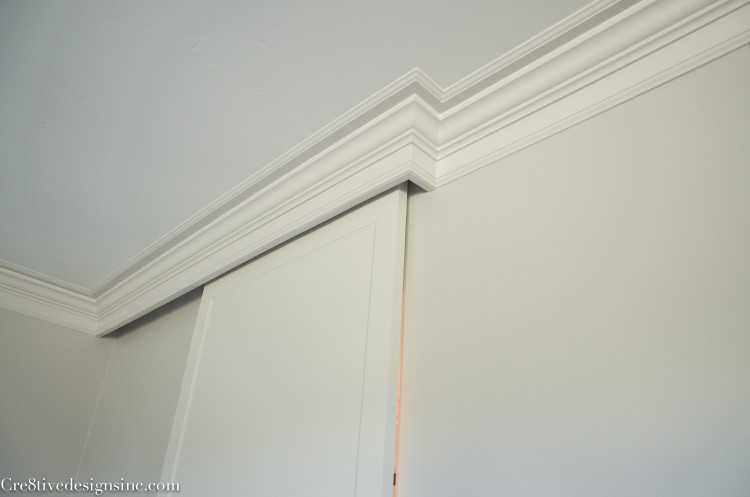
There wasn’t enough room to do a swinging door, and I didn’t want a pocket door, so we did the next best thing and put in a sliding door. We brought out the crown molding around the perimeter of the door to hide the track.
This door is also re-purposed like the barn doors using the baseboard molding to mimic the barn door
Ok, so now on to the actual master bath area. There was only one sink in the original vanity area
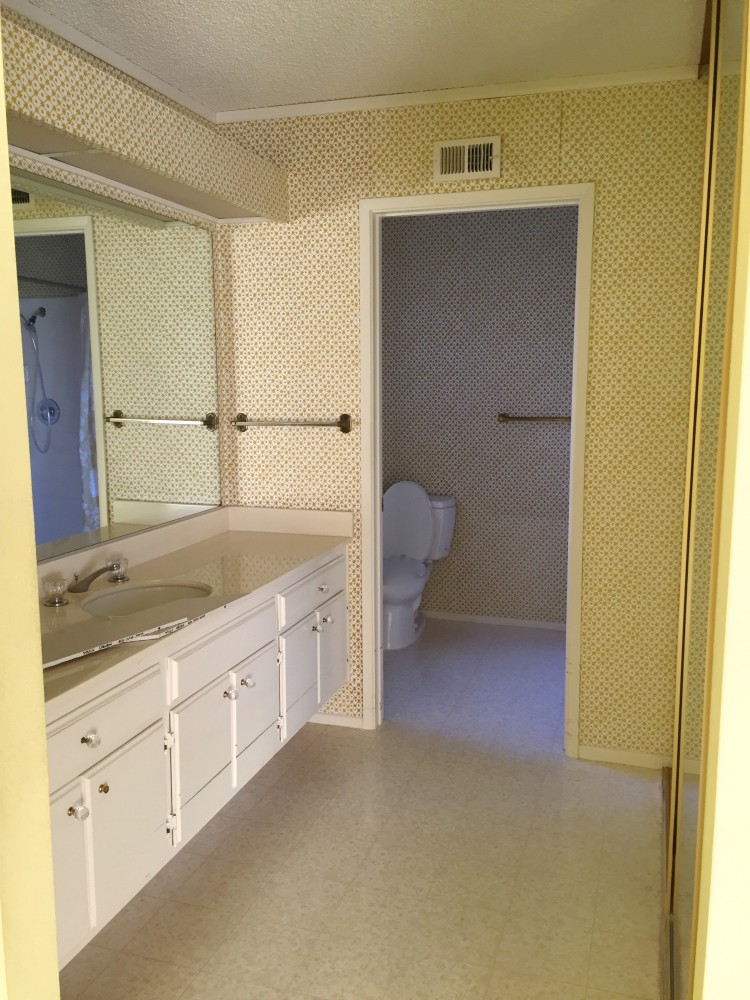
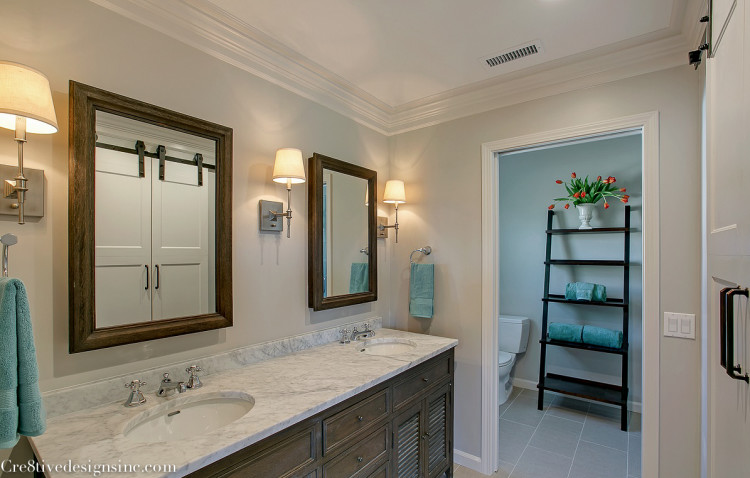
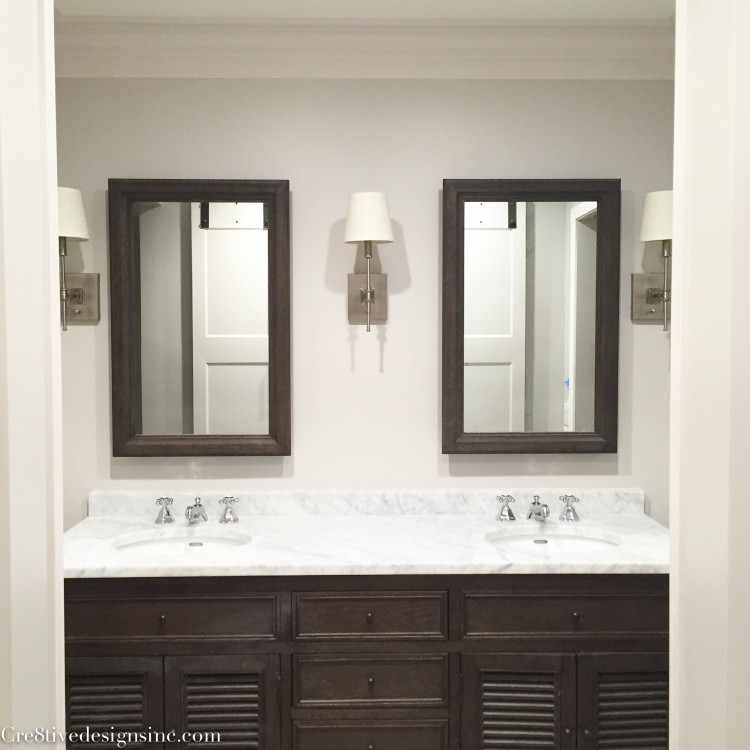
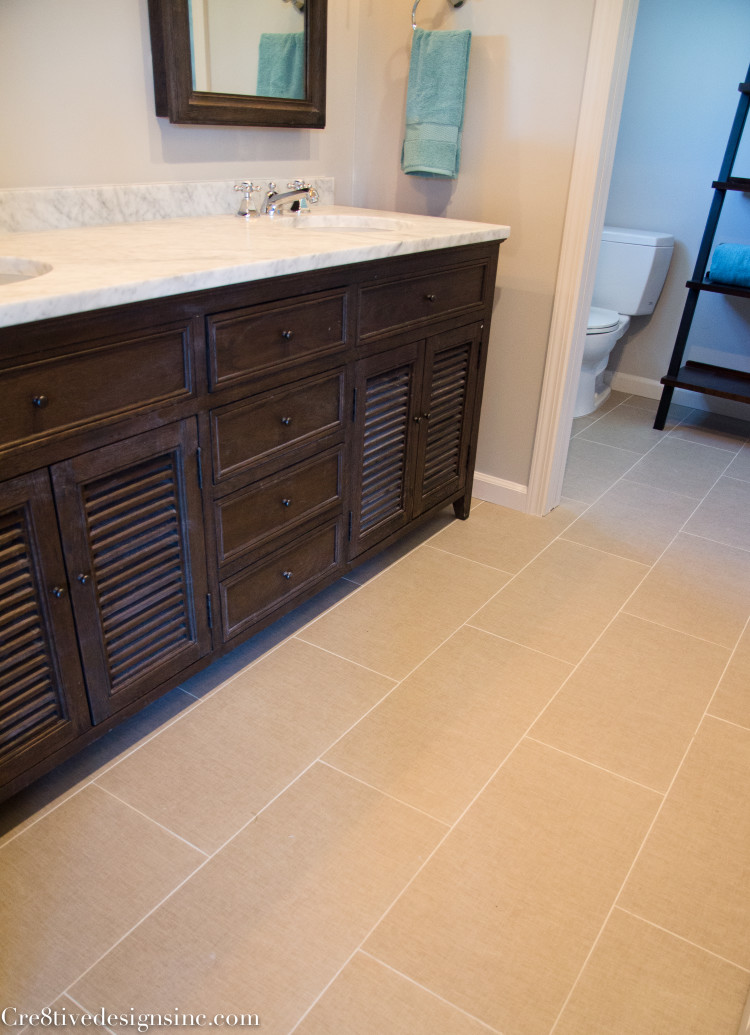
So we added a double sink vanity, and two Restoration Hardware medicine cabinets. And of course removed the popcorn ceiling, 70’s light soffit, and endless wallpaper
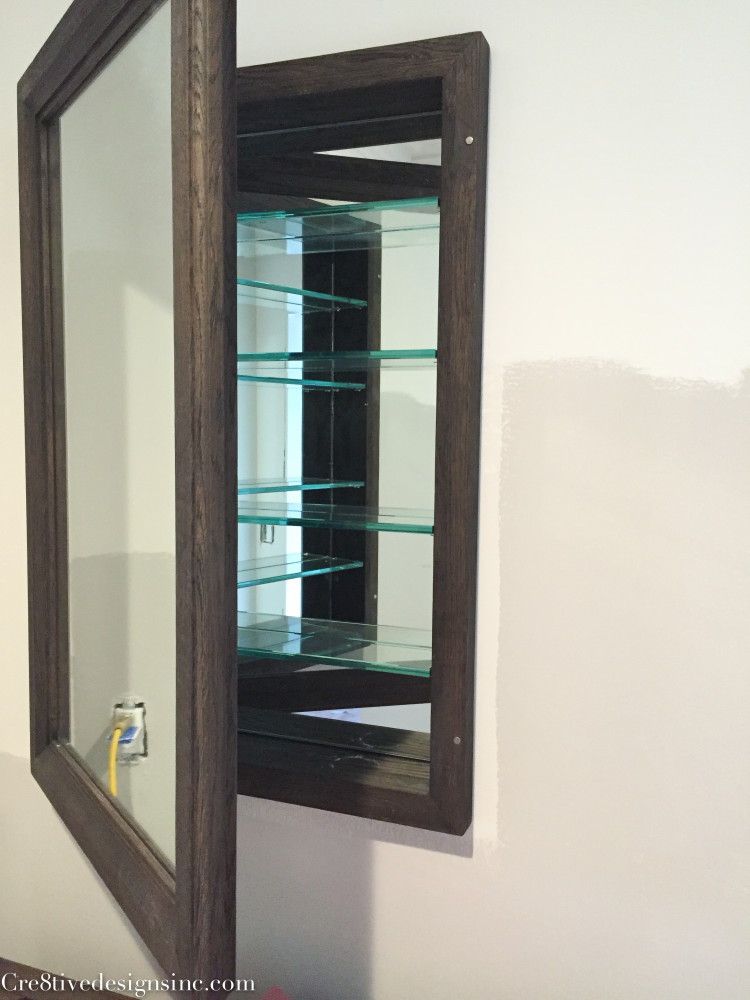
Oh how I love Restoration Hardware medicine cabinets! I always get them on sale, because the shipping is pricey. They are so well made and look so stylish. Unlike an off-the-shelf medicine cabinet. Here is a glimpse inside during the remodeling construction. The inside of the swinging door has a mirror as well. They are the bomb. One tip for you though, you might need to re-route your vent pipe for your sinks if you decide to put in medicine cabinets in front of your sinks. This is why they are usually on the side wall of a vanity, there are no obstacles to deal with. But it isn’t that hard to re-route the vent, any plumber can do it, it is just an additional cost that you need to consider if you want to go this route.
I also purchased the wall scones from Restoration Hardware. They are ok. The light they put out is pretty minimal, but luckily I have natural light coming in from the bedroom and shower area, plus the recessed can lights. So it wasn’t that big of a deal. And they look pretty in the space, which is what matters lol
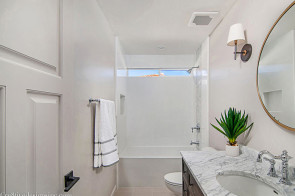
The floor tile is the same 12′ x 24″ linen look tile that we used in the other bathroom
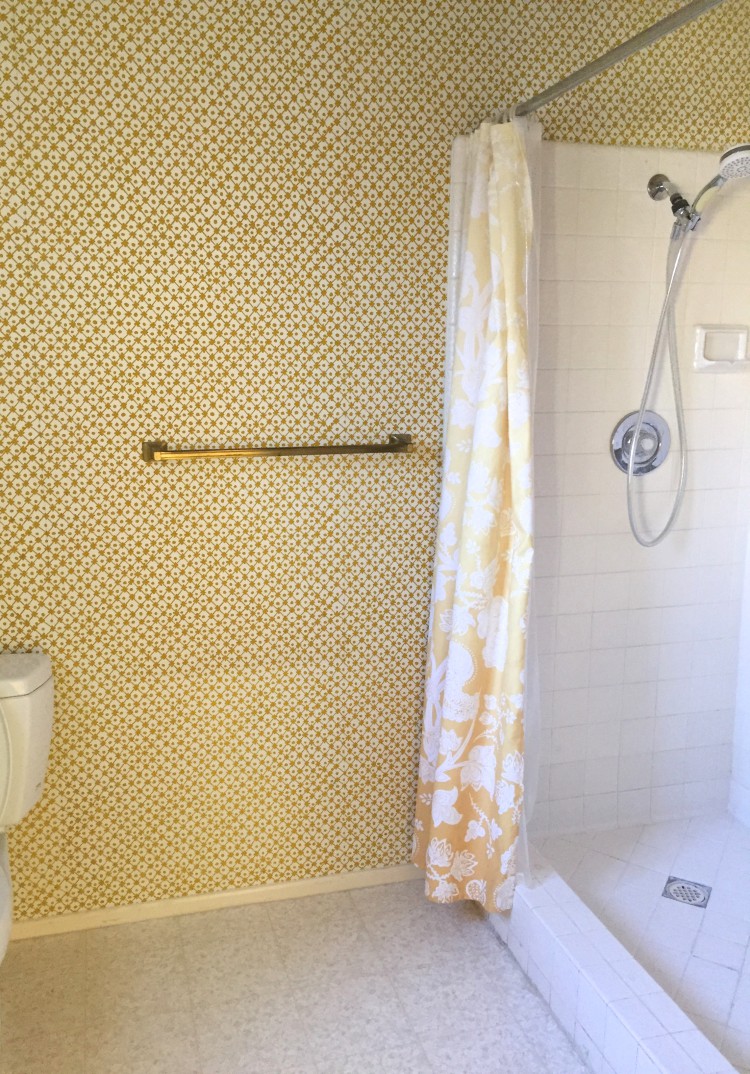
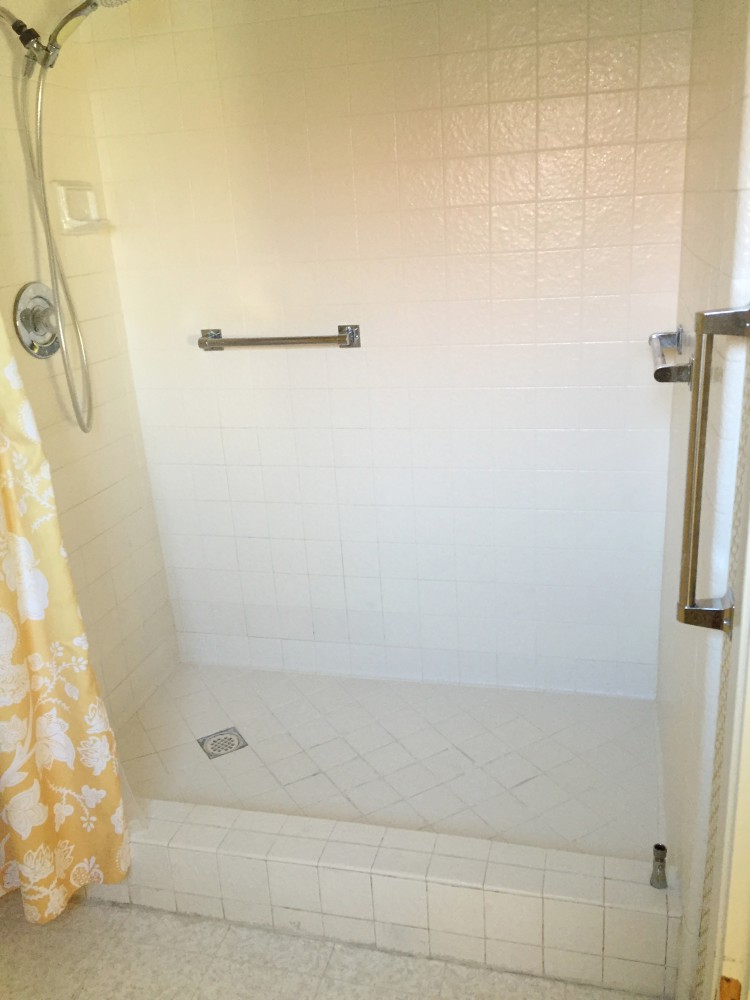
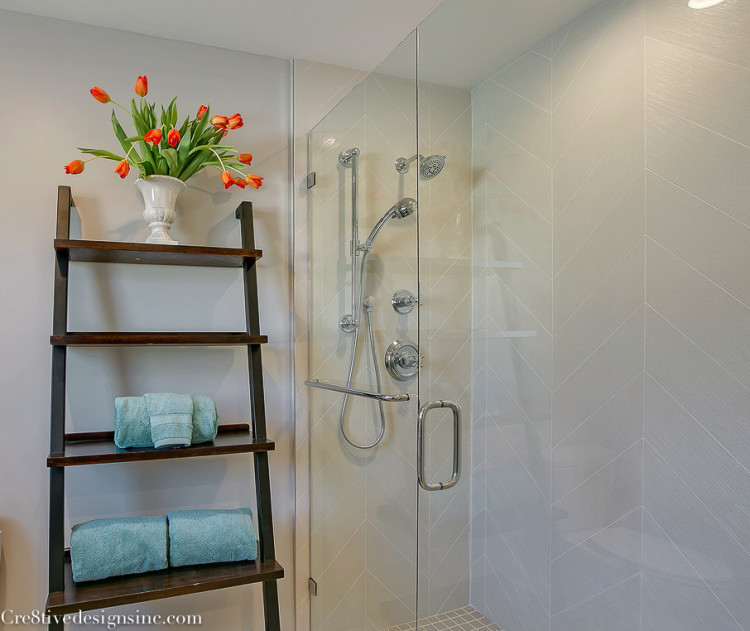
The shower/toilet room right off the vanity area again just needed updating
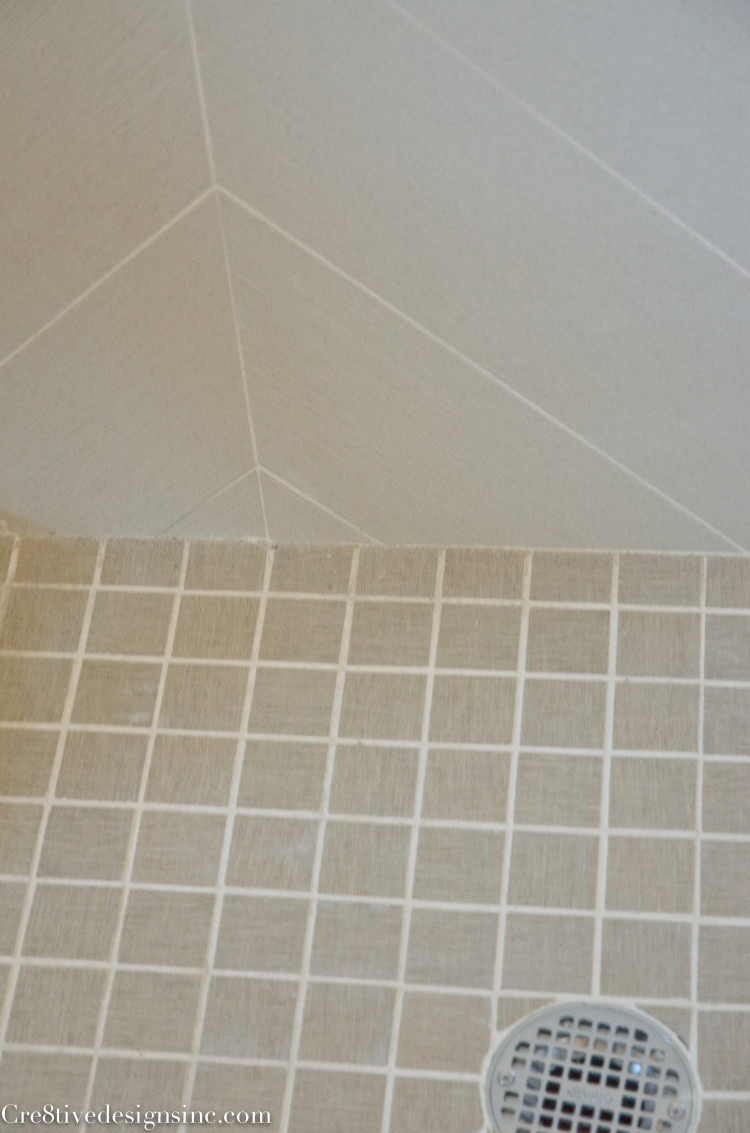
We installed a pocket door, new wall and floor tile and added a glass enclosure
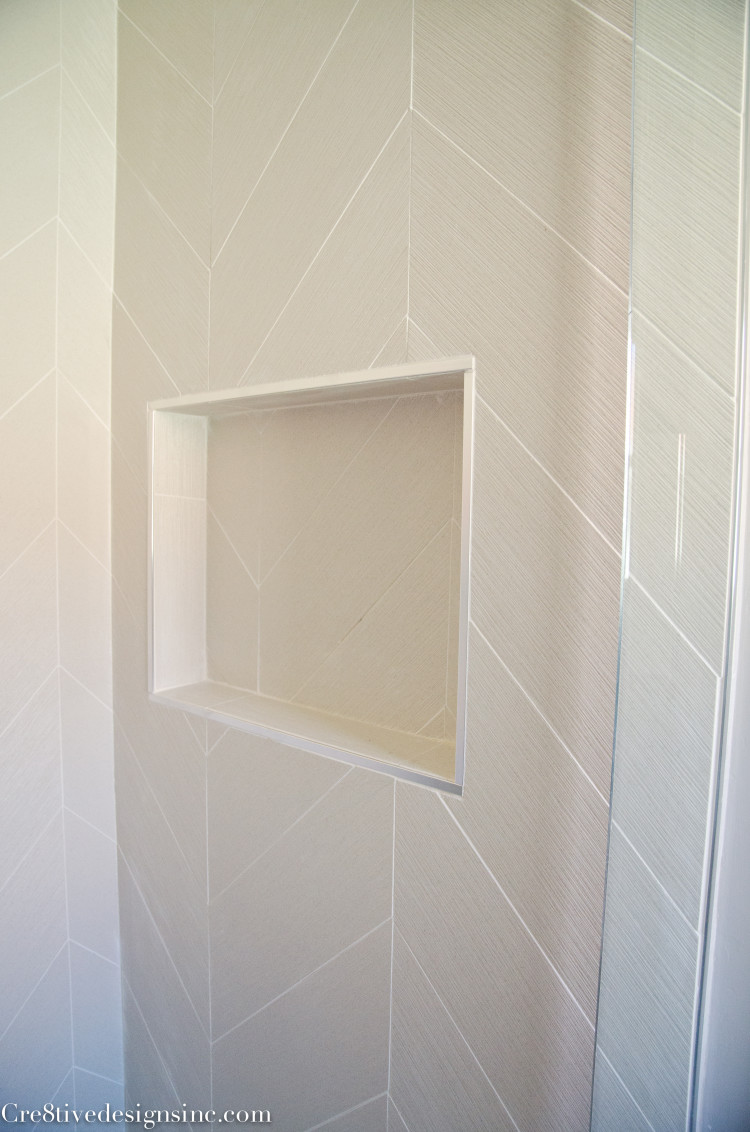
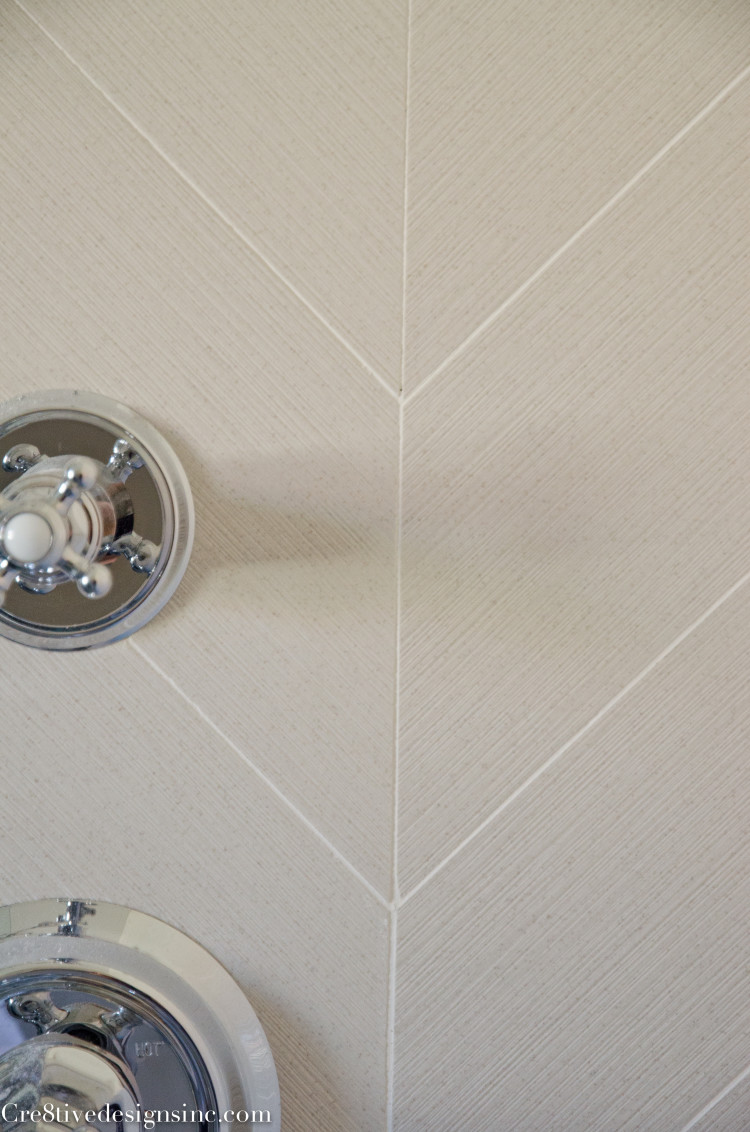
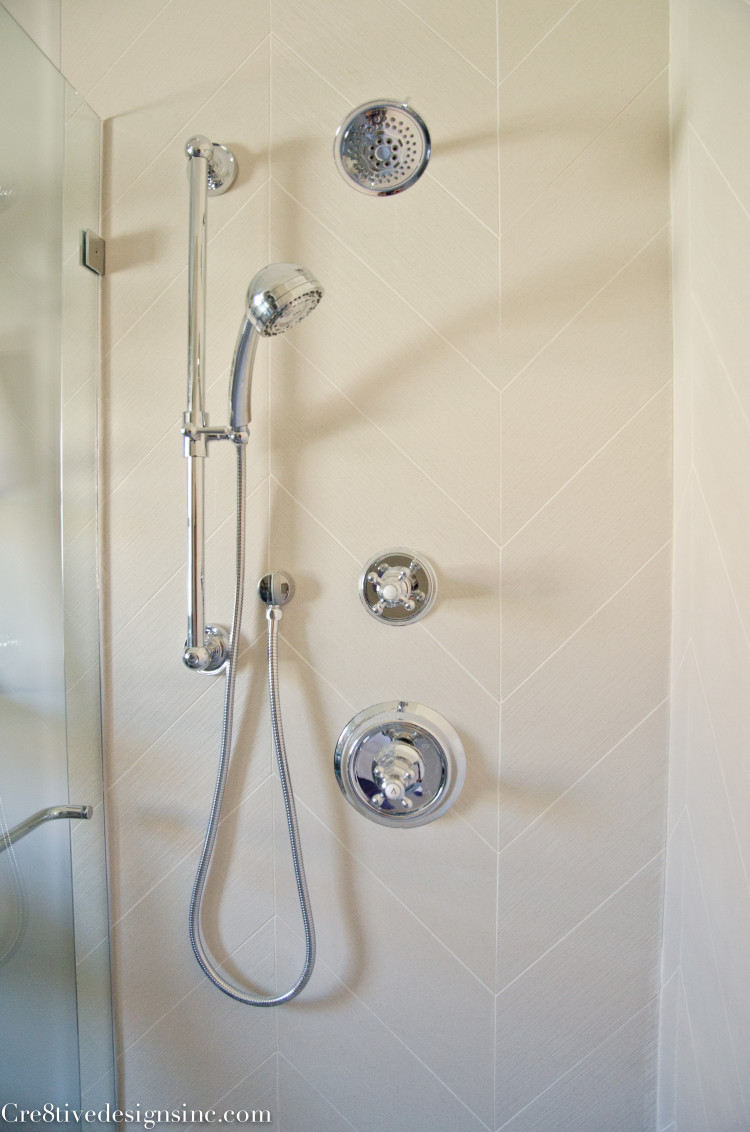
That wall tile is so cool. It comes already cut in the chevron pattern, and has a slight texture to it
The shower head was raised higher on the wall and new plumbing fixtures installed. They are by Mirabelle, my first time using this brand
We used the matching floor tile in the 1″ x 1″ size for the shower pan
I don’t know if you noticed, but there is a large space in between the shower and toilet. The previous owners had moved the toilet over I think to accommodate a wheelchair or walker {remember this is a 55 and over community}. So I left the toilet where it was. It makes for a nice storage area, and if the new owners ever find they are in need of space for a wheelchair access they have it.
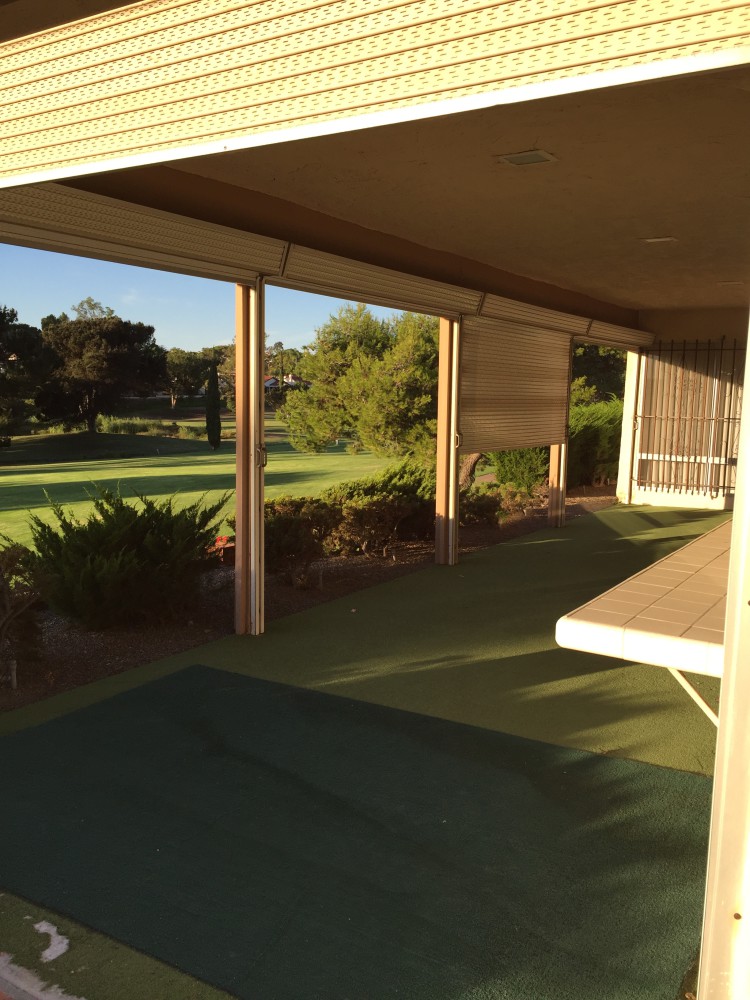
I think the rearranging I did to make the closet bigger, and adding another sink, really made this master bath area feel more open and functional for two people. Plus it gave me the excuse to use a barn door 😉 The outside transformation will be my next post. You will see how I took this dated enclosed area, and brought it to life taking full advantage of that golf course view.





What a great transformation. You always do such a great job and i love seeing your before/afters. 🙂
Karen
Thank you! I love that you always leave such sweet comments! Greatly appreciated in this day and age of blogging 🙂
wow! I love the sliding doors, and the way you hid the track on the smaller door si beautiful.
Your styling is always so beautiful Stephanie! I love looking at your flips. Keep ’em coming!
pinning!
gail
What paint color is on the walls in this bath. The entire transformation is gorgeous.
Thank you Ann, the paint color is Alpca by Sherwin Williams
Lovely remodel! Where did you get the ladder shelf?
Thank you Edith. The ladder shelf I borrowed from my daughter’s room to use for staging. I believe we got it online
Beautiful Reno! Do you remember the brand of chevron tile you used? Thanks
I purchased the tile from European Tile Art in San Diego. I don’t know the brand, sorry about that.