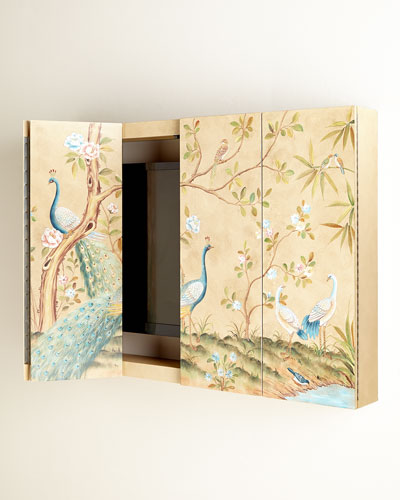
I like a tv in a bedroom. But I don’t like decorating around a big black box. I’ve always wanted to try and hide a flat screen tv with artwork, but I didn’t really know how I would execute it. I finally found a way to do it, but it took a lot trial and error, and lots of contemplating the logistics of it. The bedroom that I wanted to try and hide a flat screen tv with artwork, used to be my middle daughter Tara’s room. She has long since moved out {and had the cutest baby boy} so I pretty much could do whatever I wanted with this “spare” bedroom. There wasn’t a timeline to get it done, so I have been working on it on and off for the last year and a half. If you follow me on Instagram, you have caught snippets of the progress of this bedroom. The walls are really tall in this room and I just envisioned a large oversized piece of art on the wall, and that artwork would somehow hide the tv. So I asked my husband to build me a hinged cabinet like this one I saw on Horchow
He worked so hard on it, and he got the cabinet spot on. I painted the front of the cabinet in a floral pattern that complimented the room {so I thought}
Let me preface, a couple of things about this bedroom. I had this room painted from the original all pink, to a bright white. The room faces north, and it gets a lot of shade from the landscape outside. It just felt gloomy. I wanted to use pops of color against the white walls to brighten it up. And! it is VERY hard to photograph, so I appologize in advance on the quality of pictures. On top of wanting a piece of artwork to hide the tv, my plan was to also add moldings on the walls from O’verlays. I’ve always wanted to do something with their cool moldings, and I thought this room was a perfect spot. So you might notice them on the wall and then all of them off the walls in some of the pictures. It was a learning curve to figure out the spacing, so that too took a couple of tries.
Ok, now back to the tv cabinet saga. If you didn’t notice, the tv cabinet looks squatty on the wall. I noticed it, and so did EVERYONE else who wanted to put their two cents in. The whole look was not at all close to what I had envisioned. And that floral painting wasn’t doing anything for the room. So I started over. I took off all the Overlay’s molding, I had the layout and spacing wrong, and decided to paint over the floral with a geometric pattern instead
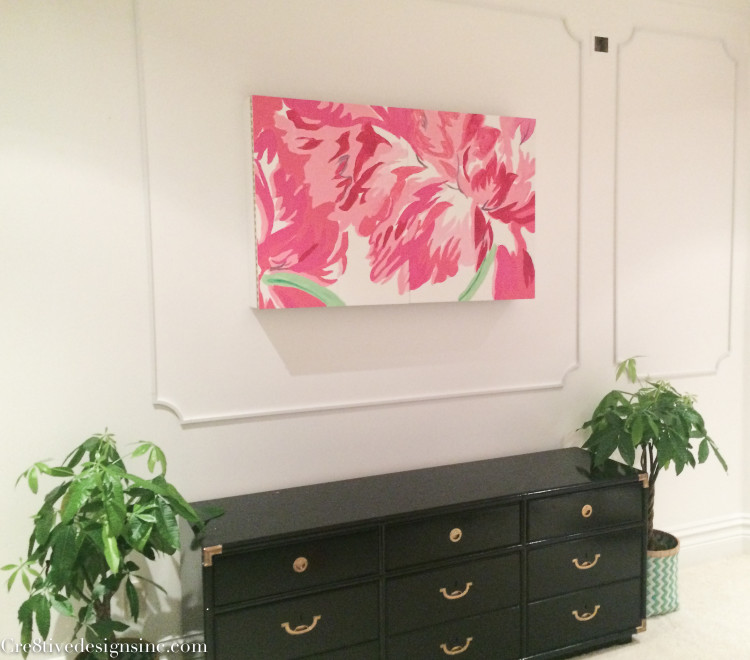
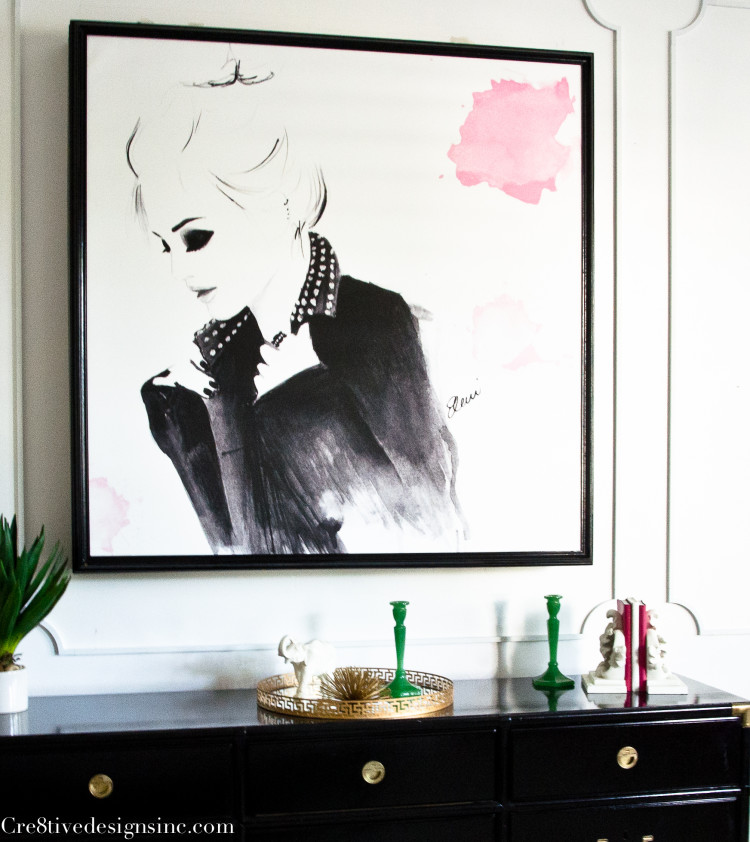
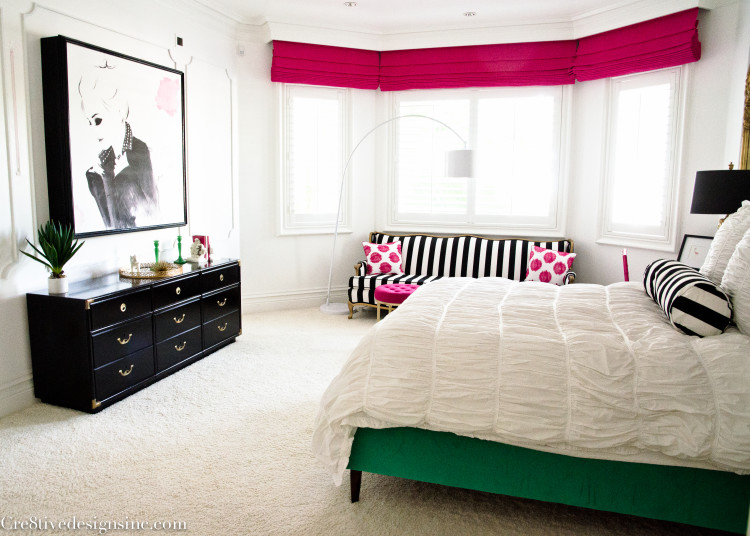
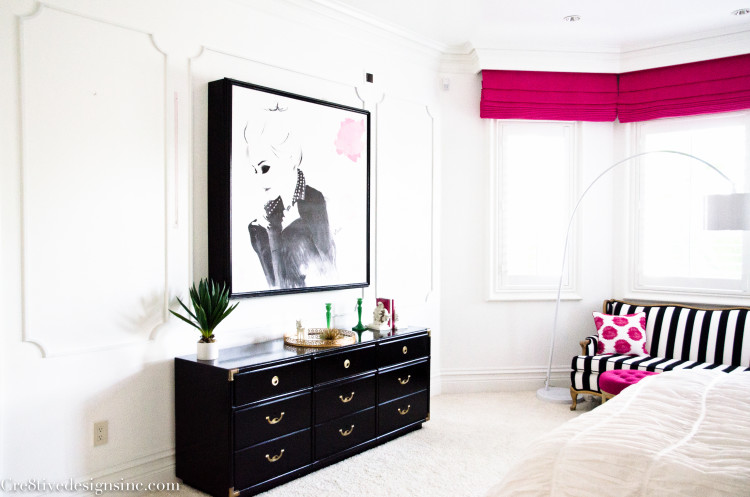
Ok that was a bad idea. The whole squatty cabinet and my amateur art wasn’t working for me either. I knew what I had to do. I had to go way bigger on the cabinet to get the look I wanted. And find a real piece of art. Taking that cabinet down bummed me out, since my husband worked so hard on it. He was very understanding, and was fine with me starting over, thank goodness. And I decided to use my handyman Carlos to make the cabinet this time, figured it would save my marriage 🙂 I also had him put up the O’verlay moldings correctly. And now when you open the door to the bedroom, this is what you see
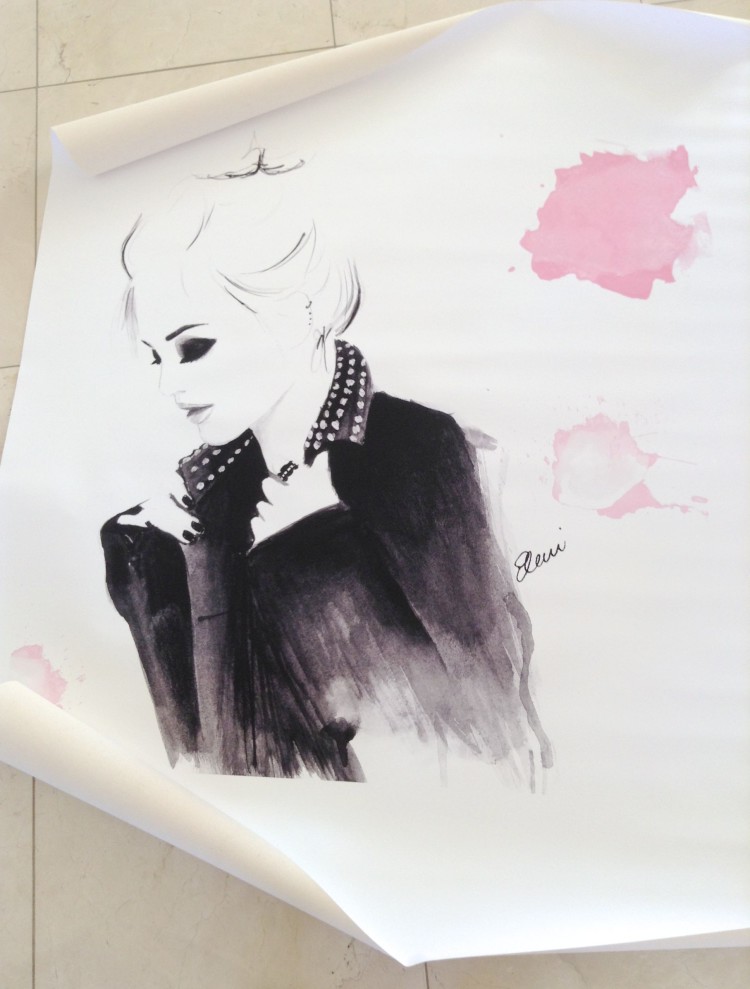
Pretty swanky isn’t it? No I did not paint that artwork. I wish I could paint like that. It is from Fall into London on Etsy. I have always loved her art, and was so happy she let me buy the artwork in digital form so I could print it as big as I wanted on canvas.
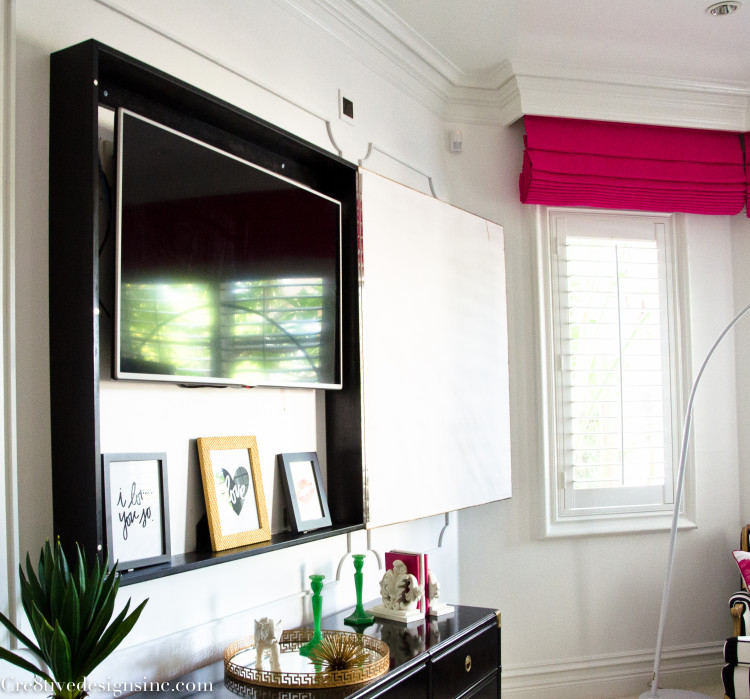
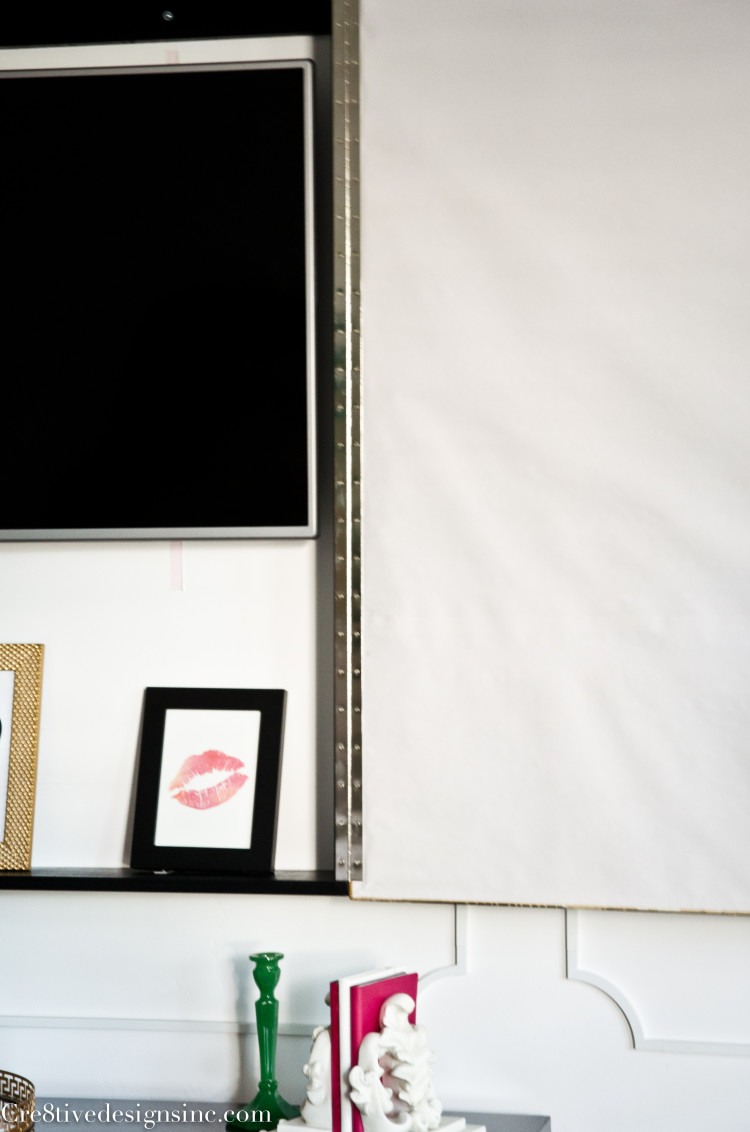
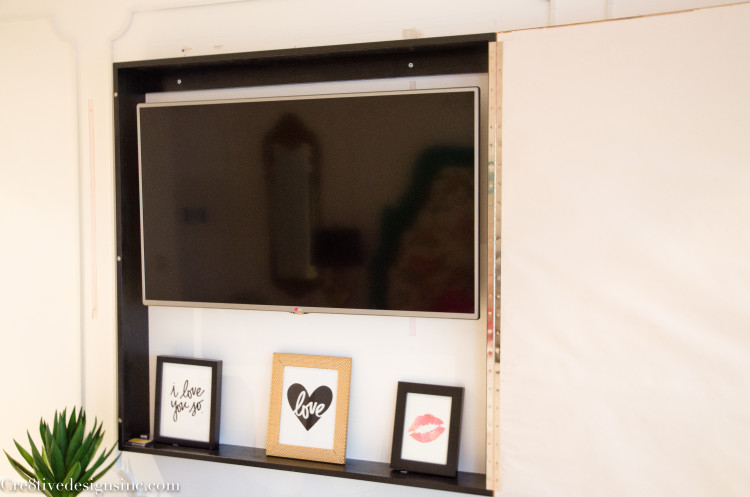
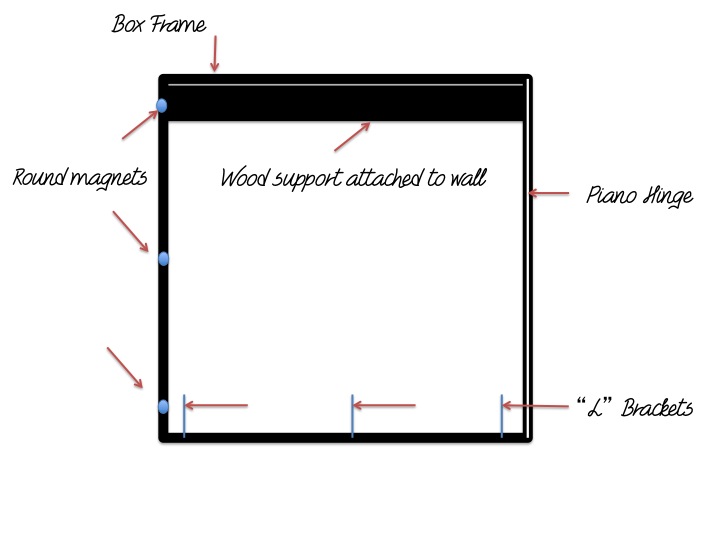
I need to get the painter back out for touch ups from where I took down the old cabinet and molding, but dang, doesn’t it look good? It is such a far cry from the previous two I tried. So how did I make it open to view the tv? Yeah, that took a lot of figuring out. I didn’t want to cut the artwork to hinge it in panels. And I thought about making it slide open, but that wasn’t going to work either. In the end, the the thing that made the most sense, was to hinge it on one side. To keep it flat against the frame when it was closed, we used magnets on the other side. Here is the artwork fully open
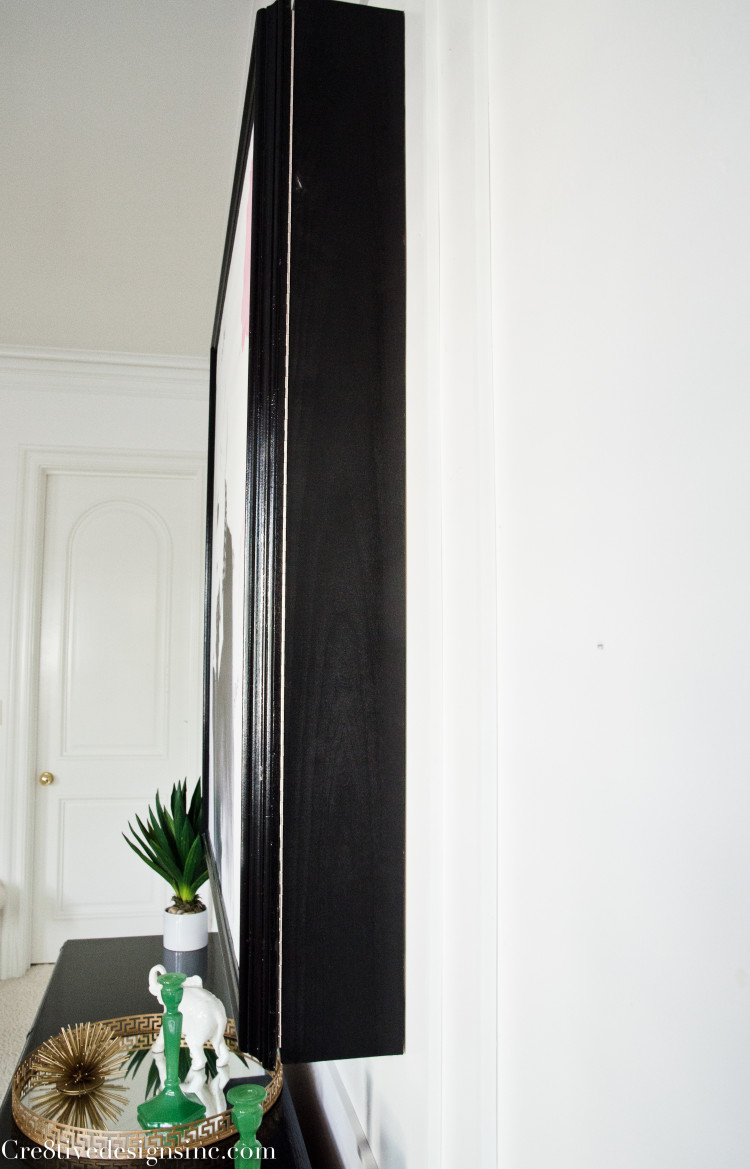
Now granted, this cabinet is huge, it finishes off at 50″ x 50″. I had to make sure that when it opened, I had enough room to have the artwork lay against the wall. And luckily I did. I used a piano hinge for stability. And the artwork itself is very light, so it opens with ease and doesn’t sag.
So cool right? It is just as I had envisioned, just took me awhile to get it right. I still need to add something to the two panels flanking the artwork, but I don’t know what I am going to use yet
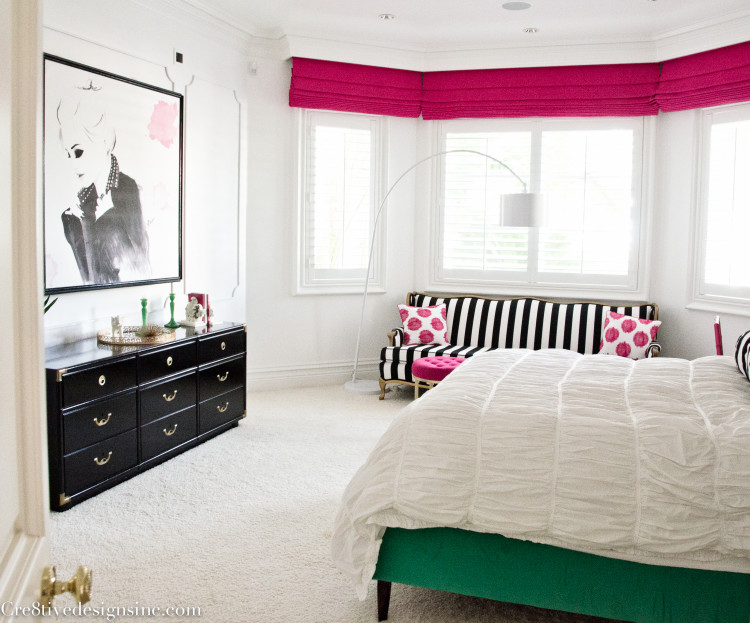
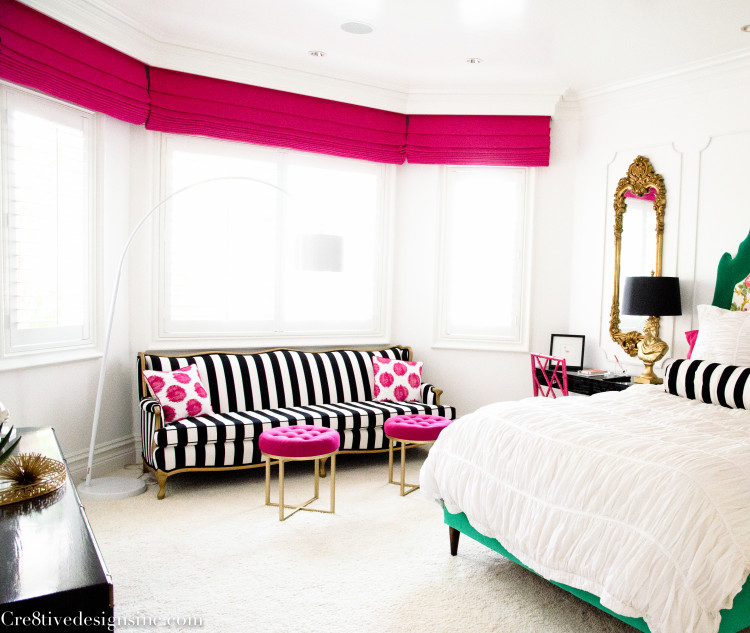
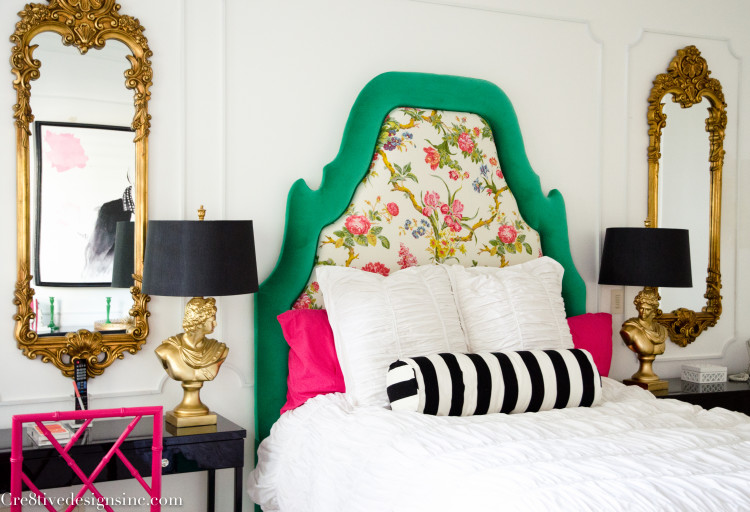
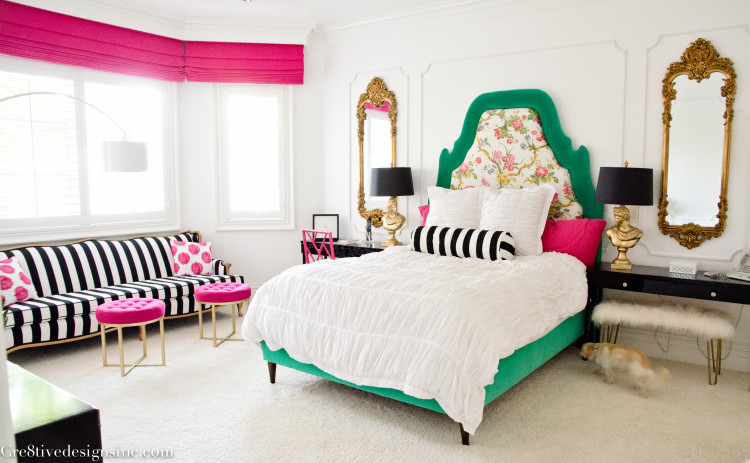
Here is the other side of the room that is pretty much done
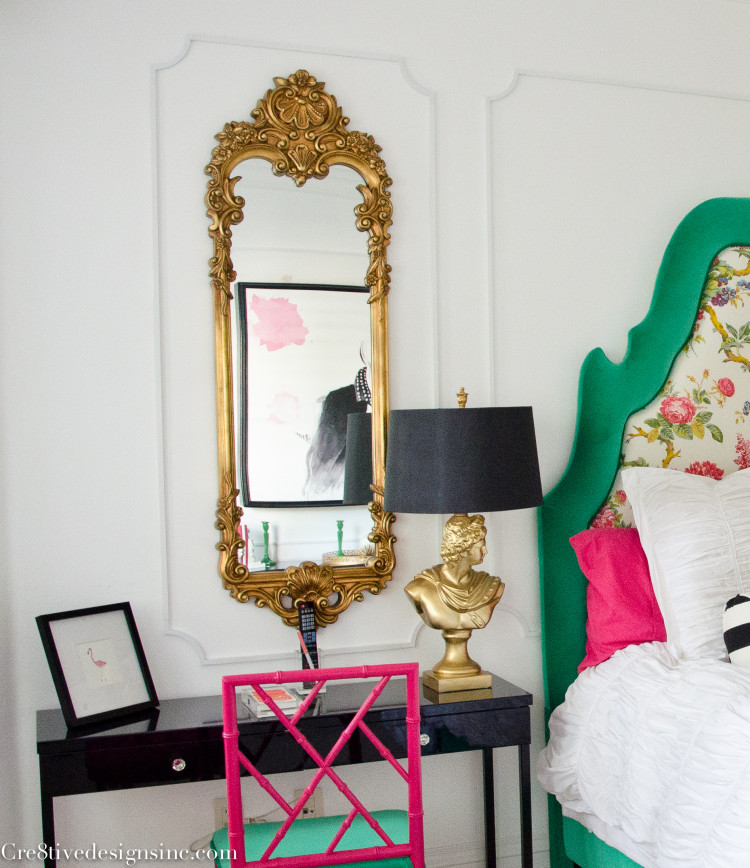
I love how the artwork reflects in the mirror…and those Overlay’s are the icing on the cake. I love the simplicity of the panels
Check out Daisy bombing my picture sneaking under the bed
The room could use some more styling, but honestly, I am just glad I have gotten this tv cabinet done, it was a thorn in my side trying for so long! I was determined to make it work, and now that I did, I can concentrate on adding the finishing touches to the room. I am just so happy I FINALLY got the cabinet done and it is how I envisioned it.
For those of you who think they might like to use this idea, here is a little more information on how I ended up making it work.
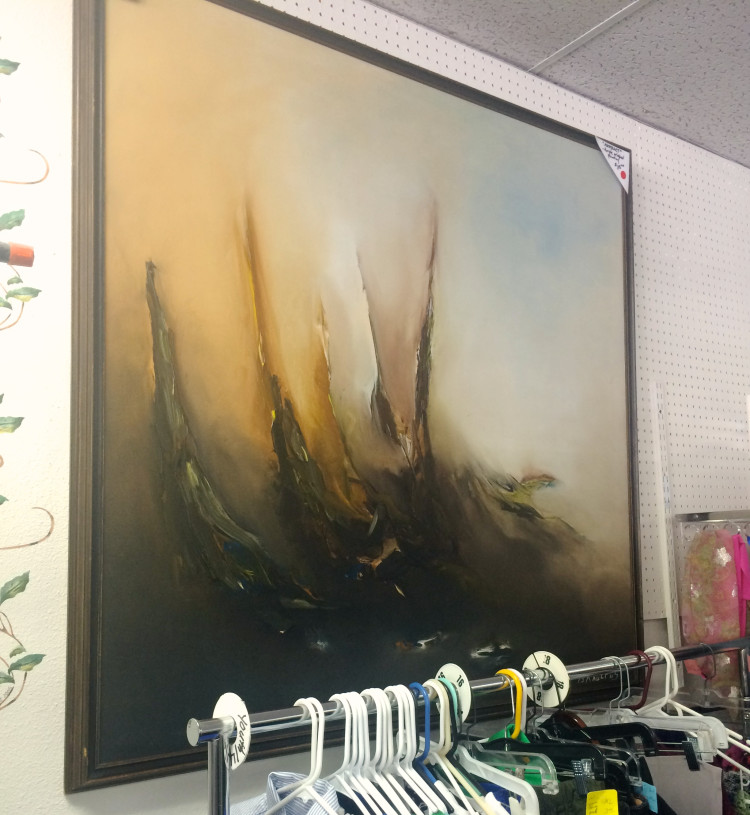
To save money on buying an expensive frame, I bought this large picture at the thrift shop for $16, knowing that I was just going to use the frame
I took the 70’s {?} artwork out of the frame and painted the frame high gloss black.
I uploaded the digital print I purchased from Fall into London for $55 to Up Printing, and had them custom print the size I needed on a rolled canvas. That cost me $105
I took the canvas and frame to Michaels, and had them stretch it and mount it to the frame for $50 {which included a backing paper, so that when you open the tv the inside of the frame looks finished}
Then there is the cost of the wood for the tv cabinet frame, we used two 8 foot pieces, 1 x 4 in poplar, $35. You can use less expensive wood for the frame, I just like poplar because its smooth and easy to paint. The piano hinge was around $11.
We made a 50″ x 50″ box with mitered corners. Carlos attached the tv cabinet frame by screwing a board on the wall at the inside top, similar to a french cleat I guess you could say, and he put three “L” brackets on the inside bottom. You can’t see “L” brackets in my pictures, they are hiding behind my frames I put on the inside shelf
The total material cost for the wood, frame, and artwork was about $300. I got lucky, and my handyman Carlos did the work carpenter work for free! What a nice guy. {I think he felt sorry for me because I had been working on this for a year. Plus I give him a lot of referrals :)}
This way of hiding a flat screen tv with artwork can be modified to any size you want. I used a large piece of artwork because it fit the room, but it can be used on a smaller scale, and you can save money and use one of your own photographs and get it enlarged.
It was a running joke in my family every time I brought up my tv cabinet saga, {insert rolling of the eyes}, but everyone loves it now, especially since they don’t have to hear about it anymore. So what do you think? Would you make one of these to hide your flat screen tv’s? Or am I just the crazy one?







Your bedroom looks stunning, and that TV cabinet frame, ingenious idea! Love it!!!
Thank You Michelle! It has become one of my favorite rooms in the house.
Stephanie,
I LOVE how your hidden t.v. artwork cabinet turned out! I love the art you chose, and Carlos did a super job.
It really is the perfect solution for the room!!!
Pinning!
gail
Thanks Gail! I couldn’t of done it without Carlos 🙂
I hate televisions, particularly over a fireplace. Nothing like two black holes staring back at you. I love what you have done here and am pinning for future reference. In the meantime, please please tell me where you got those mirrors in this beautiful bedroom!?!?!
Thank you! I got the mirrors on sale at Horchow
Brilliant idea. Face it, TVs are ugly. And art makes for moods and moments.
I do my own photography and hope to do the same with a black and white print.
Thanks for the instructions and visuals.
Ive been looking for these EXACT instructions!!! Seriously, thank you thank you thank you! This will look amazing over our fireplace, and only have to see the TV when we want! Hope I can handle the project myself!
Thank you Laura! It took me awhile to figure it out, and so hopefully you will be able to do it a lot easier now that I’ve shown the end result. You just have to have enough wall space on one side of the tv to be able to fully open the artwork to expose the tv. It really is a cool idea if I don’t say so myself 🙂
Hi Stephanie,
I’ve been trying to do almost the exact same thing. However, I have a slight problem, either side of the TV that the picture might swing to has obstacles (the picture is 2m wide x 1m tall), so the only idea I have is to swing it upwards (swinging downwards will damage the painting). I’m not sure if you ever thought of that (space saving). But my concern is whether the piano hinge will hold, and what sort of support is needed to hold the frame up.
the idea of putting pictures under the TV is really cool though, makes it homely at the same time.
Swinging up could work as well! The painting I used was not that heavy, it is a canvas with a light wood frame. Piano hinges can hold a lot of weight, you just need enough exposed wood on the inside of the frame to be able to screw the hinge to into it. I think it’s a brilliant idea! Let me know if you try it.