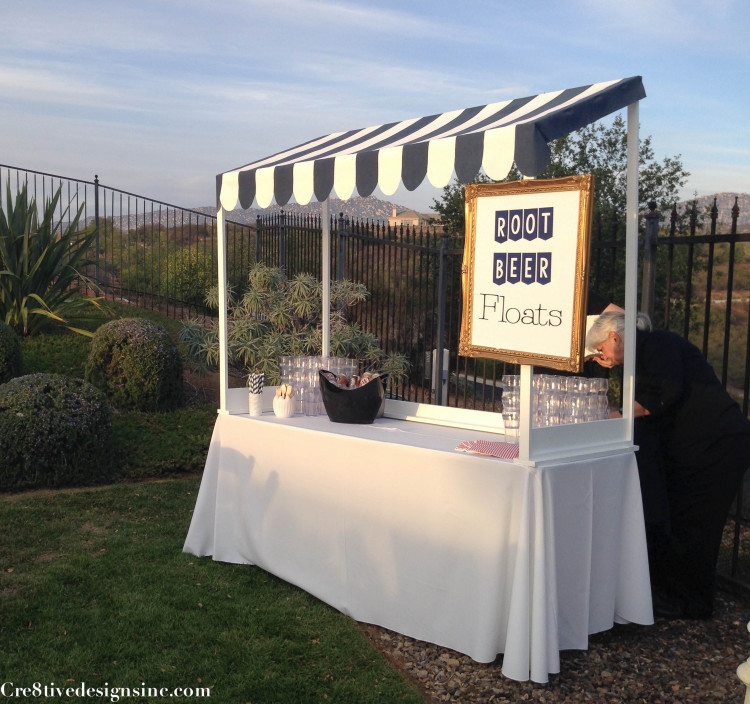
I have recieved a lot of emails asking if I was going to give a tutorial on the table top canopy I made for the Root Beer Float station at my husbands birthday party. When my husband and I made this, it wasn’t in my plan to do a tutorial. I had no instructions on how to make one, so I was going by the seat of my pants on the building of it. Not to mention I had 130 people coming to this party and I had NO time to take pretty step by step pictures. So it has taken me awhile to figure out how I am going to do this tutorial. But I think I have gotten most of down and tried to do the best I could with visuals and drawings. Since it is so detailed, I thought I would split it into two posts. This one will be how to build the frame for the canopy, and the second one I will post later that will be for the actual canopy.
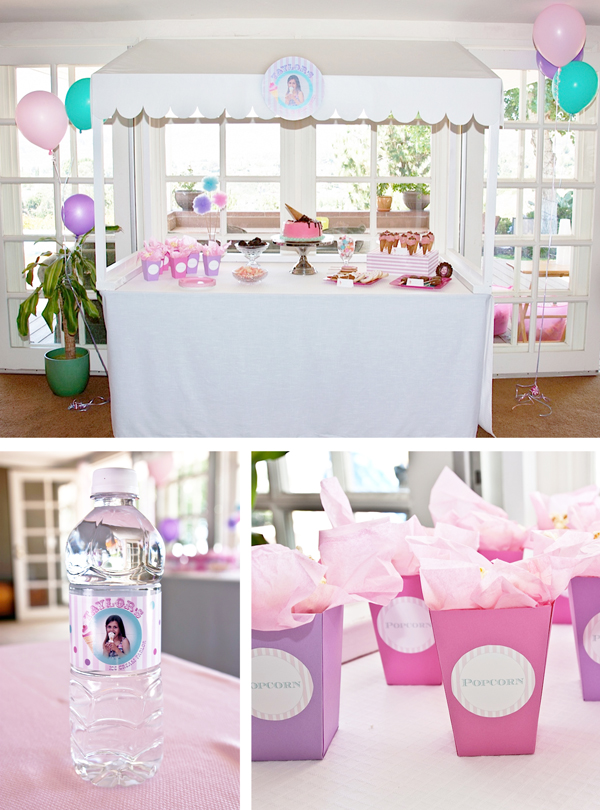
I originally got the idea when I saw this picture on Pinterest via Pen n’paper flowers design
I was bummed that they didn’t show how they made it, so I sat down and figured it out myself by staring at the picture over and over again. Once I figured out the measurements, I went to HomeDepot and had them cut all the boards to the sizes I needed. First trip I bought MDF, cause it was cheaper. That was a mistake. The wood was so heavy and it kept splitting when I screwed a screw into it. So I went back and got primed finished pine. So don’t buy MDF.
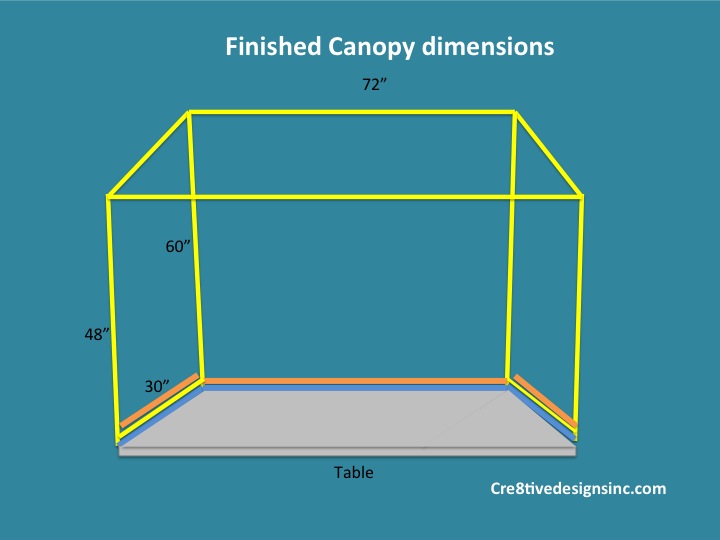
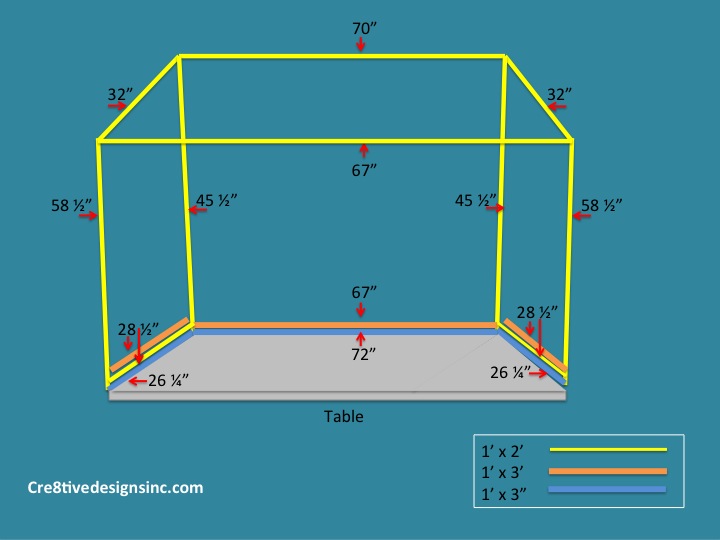
This is the drawing I came up with based on what I saw in the inspiration picture. {I also took into consideration that the finished canopy once it sat on the table, it needed to be tall enough in the front so that a six foot person could stand in front of it}
I painstakingly calculated out {math is not my forte, it took me awhile for this step} the actual building dimensions. Then I took my dimensions to HomeDepot and had them cut the boards to the building dimensions I highly recommend getting your boards cut at HomeDepot, it makes it easier for transporting and to save time.
My drawing is color coated to help you see where each piece goes
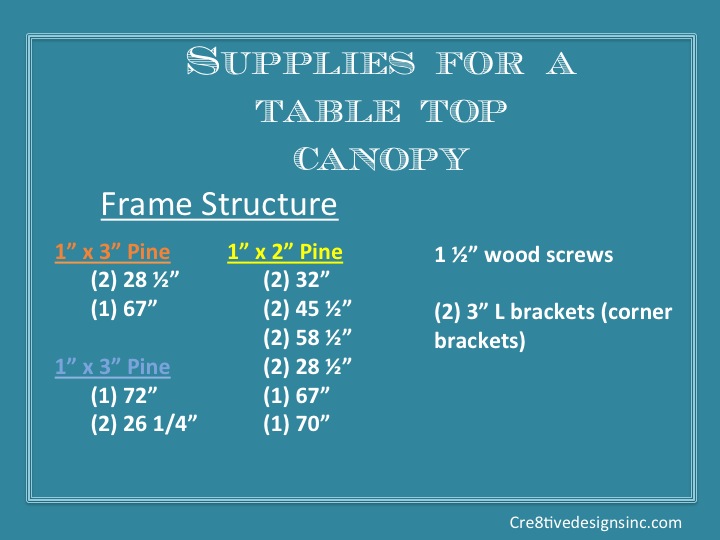
Here is a cheat sheet of the supplies you will need. One thing to note, when you get your boards, the wood is based on the nominal size, so a 1″ x 2″ board actual size is 3/4″ x 1 1/2″. But I took all that into consideration when I did my drawings.
Here’s are the steps with a couple pictures I took after we built it.
1. First we built the main frame using the 1′ x 3″. We butted the end of the shorter piece up to the longer piece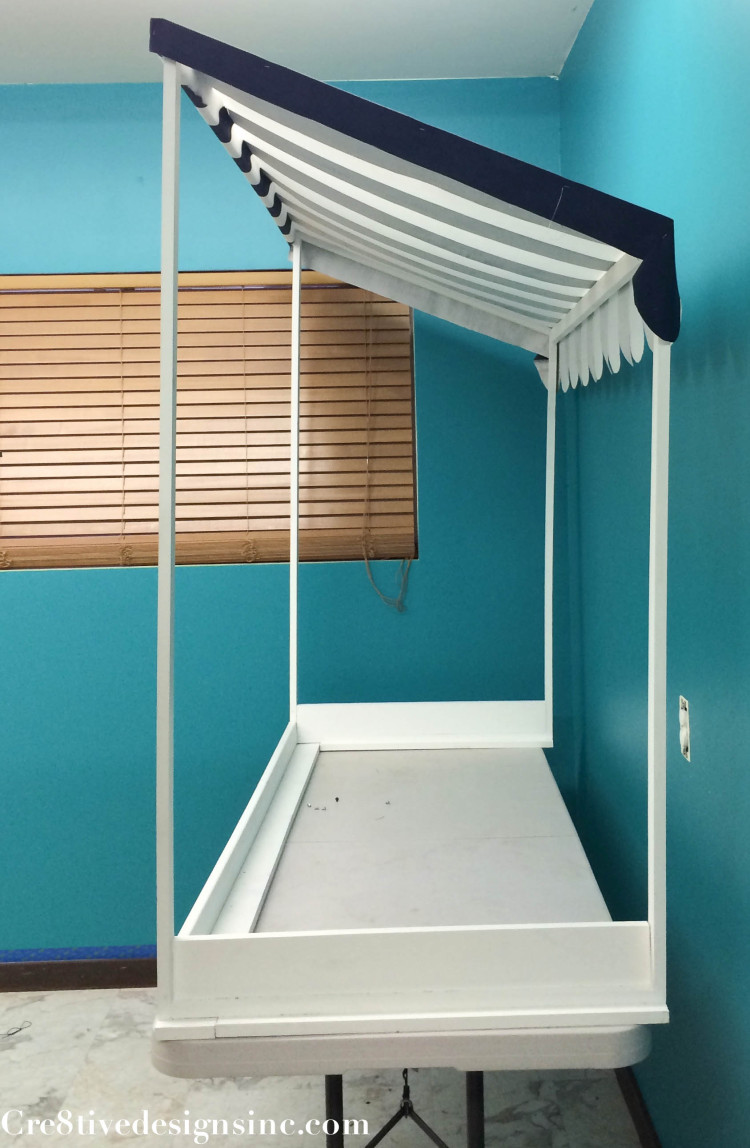
2. Then we proceeded to build the side two side panels, and then attached the front and back cross bars to the two side panels. **One thing to note, the top cross bars are mitered at 30 degress. Mitering the pieces makes them sit on top of each other better since they are at an angle.
3. Once we got the two side frames done we screwed them to the main frame. We attached the screws from underneath the main frame up through the tall frame. Securing it in at all four corners, and then a couple of places in the middle of the frame. Then we attached the back and front cross bar. The back crossbar is mounted to the outside frame, but the front cross bar is sandwiched between the two side frames.
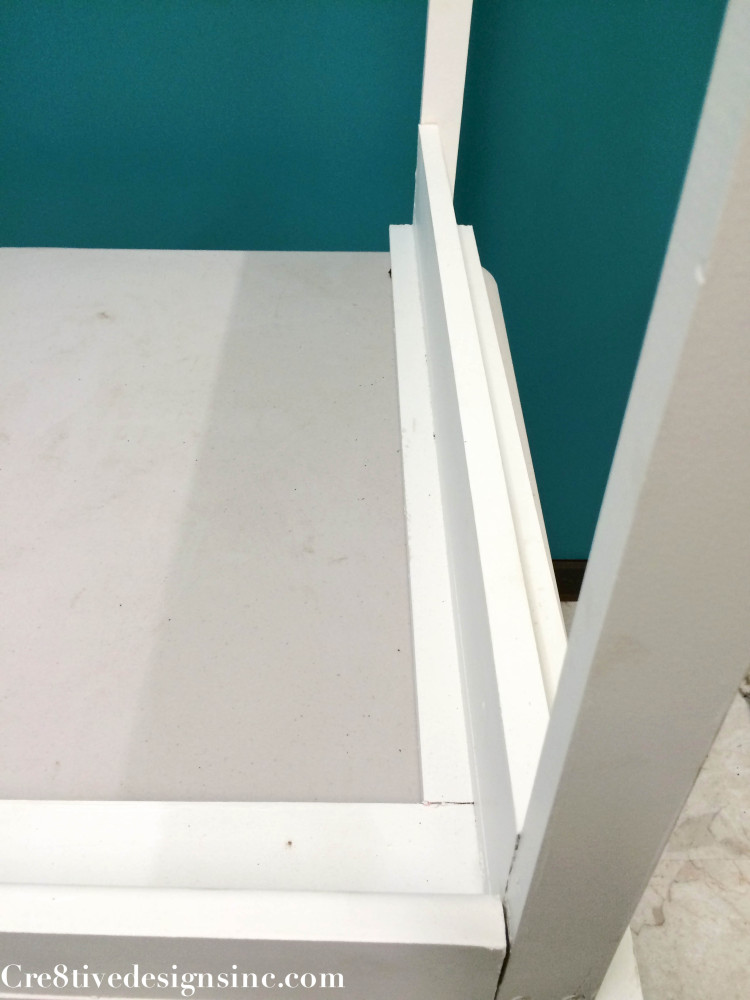
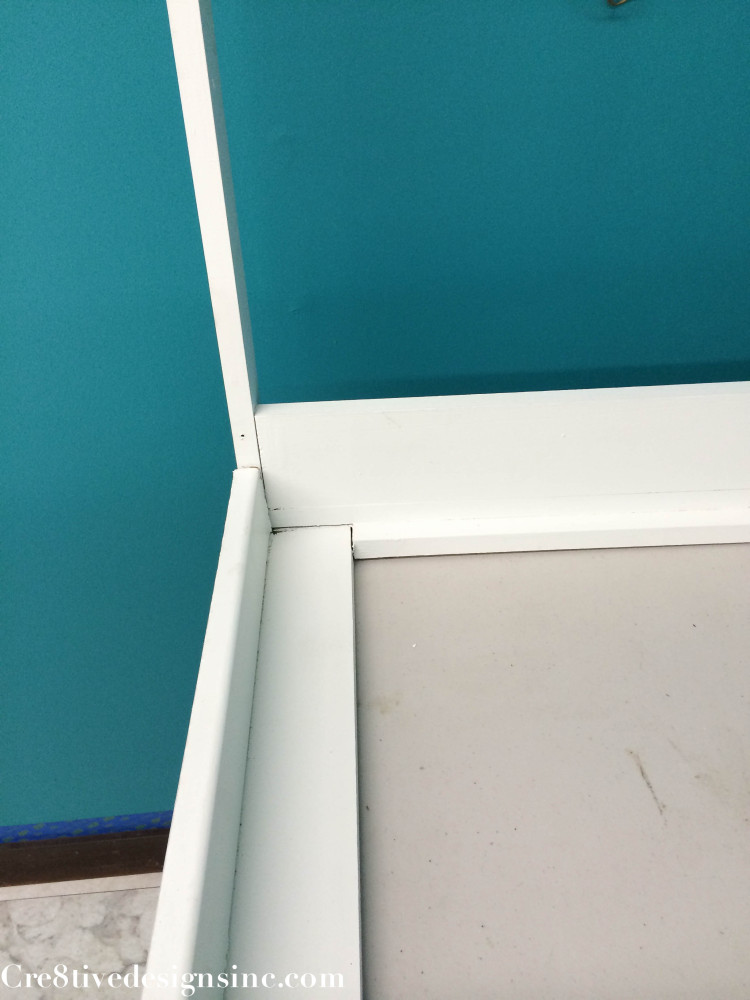
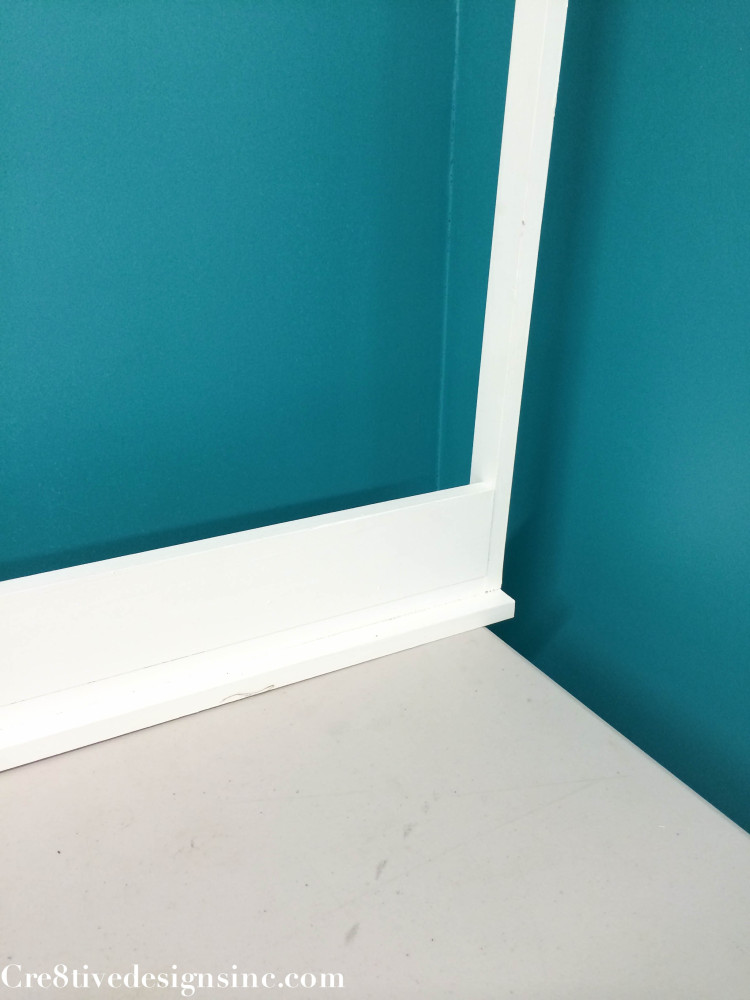
4. Added the 1′ x 3″ pieces to sturdy up the lower section of the frame. And added the “L” brackets to the top cross bar areas.
As you will notice in the picture, the back 1′ x 3″ piece won’t be as high as the two outside pieces. The two outside pieces sit on top of the 1″ x 2″ of the frame which makes them higher
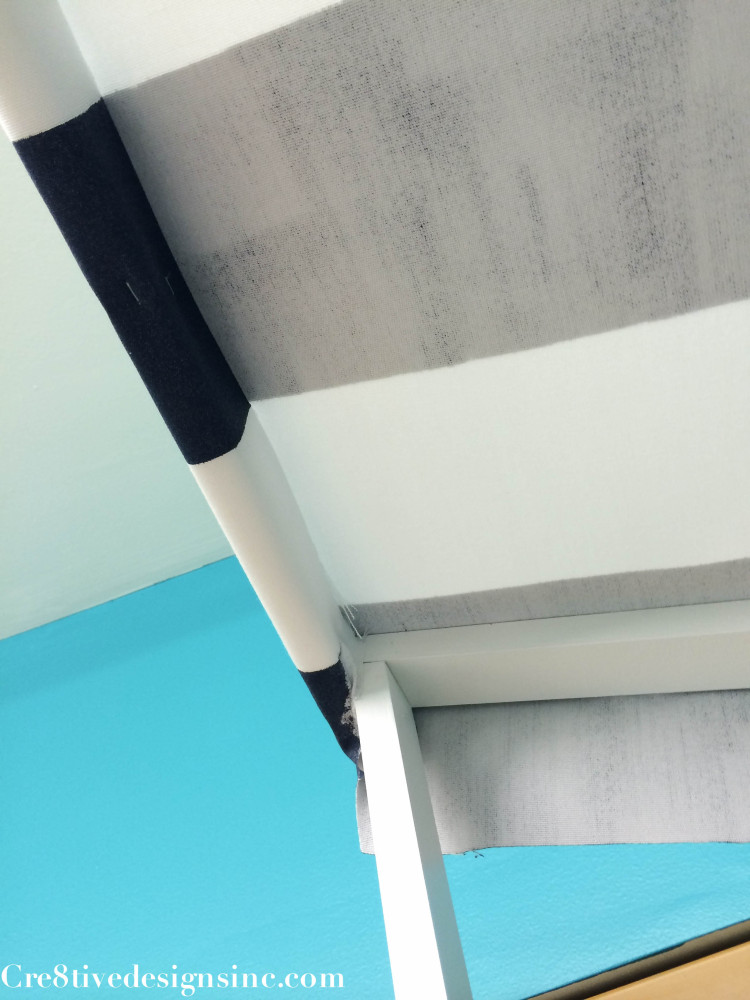
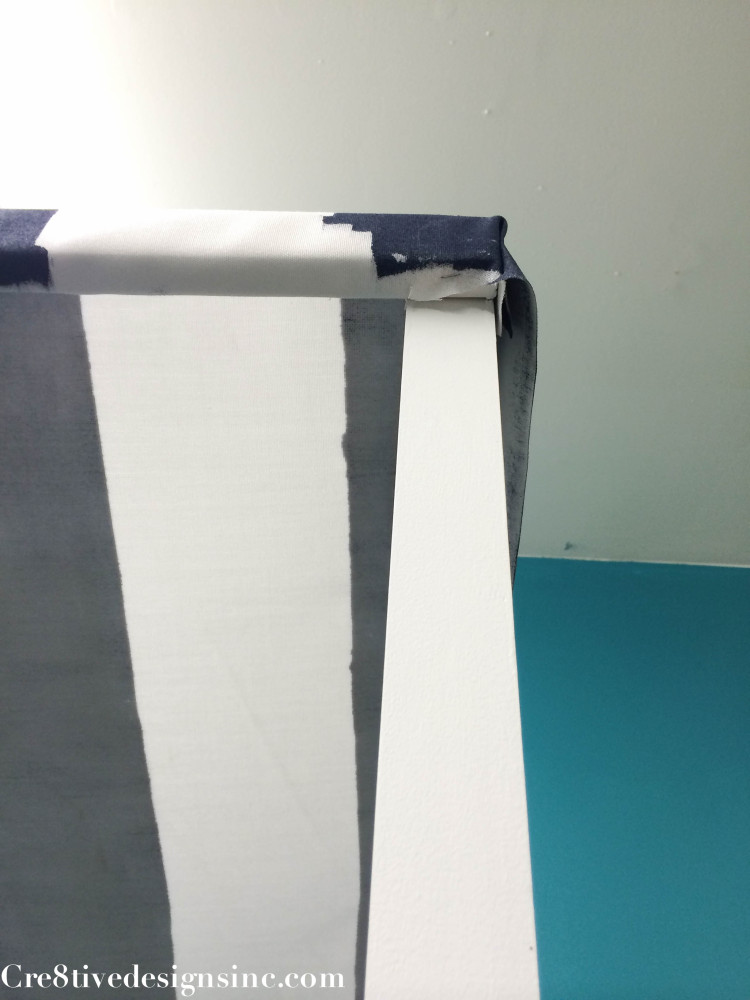
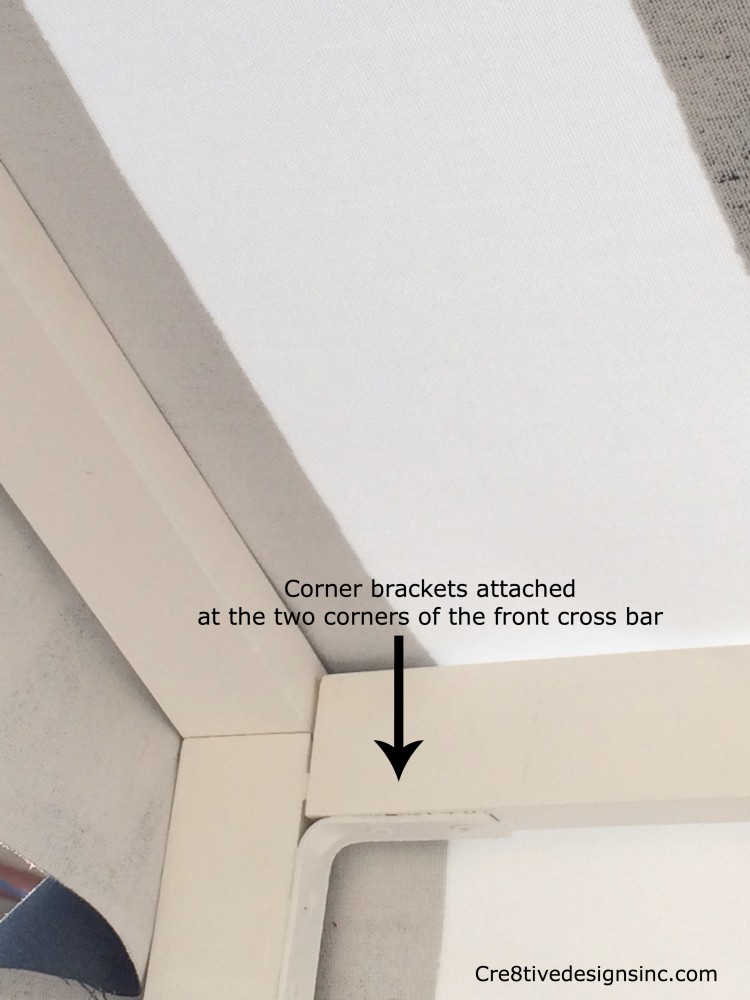
Here is a close up of the “L” bracket or also known as a corner bracket. They are attached to the front top cross bar. The painted canvas covers this area so no one sees them when they are standing in front of the canopy.
Once you get the frame put together than give it a coat of paint. You can spray it or roll it, which ever you prefer. I rolled mine with a sponge roller using interior satin white paint.
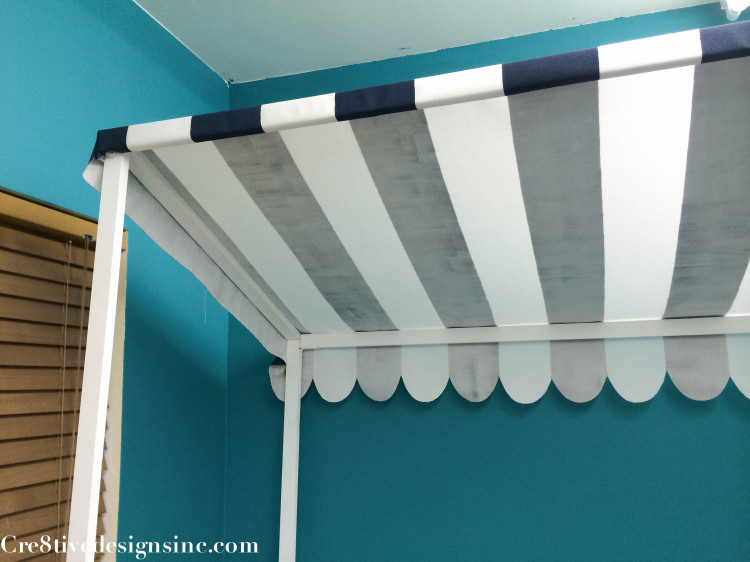
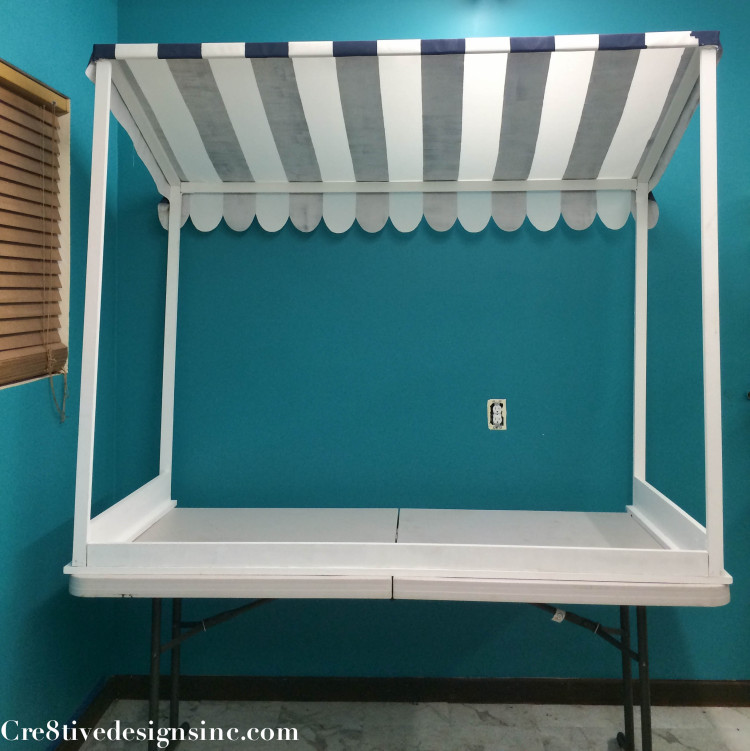
And this is how your canopy should look when your all done..
Front
Back..
This project was a joint effort between my husband and me. But my husband gets a lot of credit because he did all the carpentry of the frame, as per my drawing and my supervising of course 🙂 I am sure there is probably a better way to put this together, but since neither one of us are carpenters, this is what we came up with. It turned out very sturdy, and once the canopy was on, it looked awesome, and to me that is all that mattered. It may look intimidating with all these pictures, but really it isn’t that hard. I did the hard part for you by figuring out all the parts and pieces and how they go together. If I can figure it out how to build one by looking at a picture, then anyone can! If you have any questions, please feel free to leave it in the comment section or email me. For the canopy top instructions, click here







Love this. And you could use it for so many other things as well. I know my daughter would have many uses for it 😉
Thanks Julia! I agree, this would be great for any party. Especially if you did the canvas top in white, you could add color for what ever occasion you use it for.
It would also make a GREAT lemonade stand!
That is adorable! Thanks for the tutorial =)
great tutorial Stephanie! I have loved this ever since I first saw it. So darn cute!!!
gail
How much did this cost and how long did it take?
Could possibly try to make it with PVC Pipe
Hi Katelyn, I think you could make it out of of PVC! You would have to make it using the thicker pipe for stability, but you could also store it easier by taking it apart. Good idea! I would say my wood version cost about $35-$45? I would love to see pictures if you make one out of PVC!
Hi: I love your table-top canopy. I’m helping to organize a big event at MIT in a couple of weeks, and
we’d like to re-create this look for 6-foot long tables.
Do you have instructions for the fabric part of the table?
Linda
Hi, thanks for sharing this, it’s just what I’m looking for although I’m trying to find away to adapt it so that it can be taken apart and easily transported. Any ideas anyone?
Carole, i would maybe try PVC pipe. I think I should of done that to begin with.
Thanks Carole for the awesome instructions and idea! I have a home bakery and I’m getting ready to do some craft shows..I’m using your idea, but I’m going to tweak it a bit by adding shelves..I’ll post pictures after we build it..you can alo see it on my FB page once we build it, hopefully this weekend.. It’s so cute!
Thank you so much for sharing your completed project, it turned out so stinkin cute!
Thank you so much!!! You are the best with all this info. The canopy is so cute. I would love to make one that can be stored in pieces. LEts see how that works out for us. 🙂
Did you ever figure out how to make this so it’s more portable? I have started a new business and want to take it to farmer’s markets and food shows so need to be able to easily transport it.
No sorry Carol I didn’t. It sure would be nice to have it portable though!
Thank you for sharing! This is just what I was looking for!!
Did anyone figure out the pvc construction
No one has notified me that they found a PVC version. That would be perfect, and easier to store!